How to Post Your First Request Form
Table of Contents Introduction With the 3.17 ...
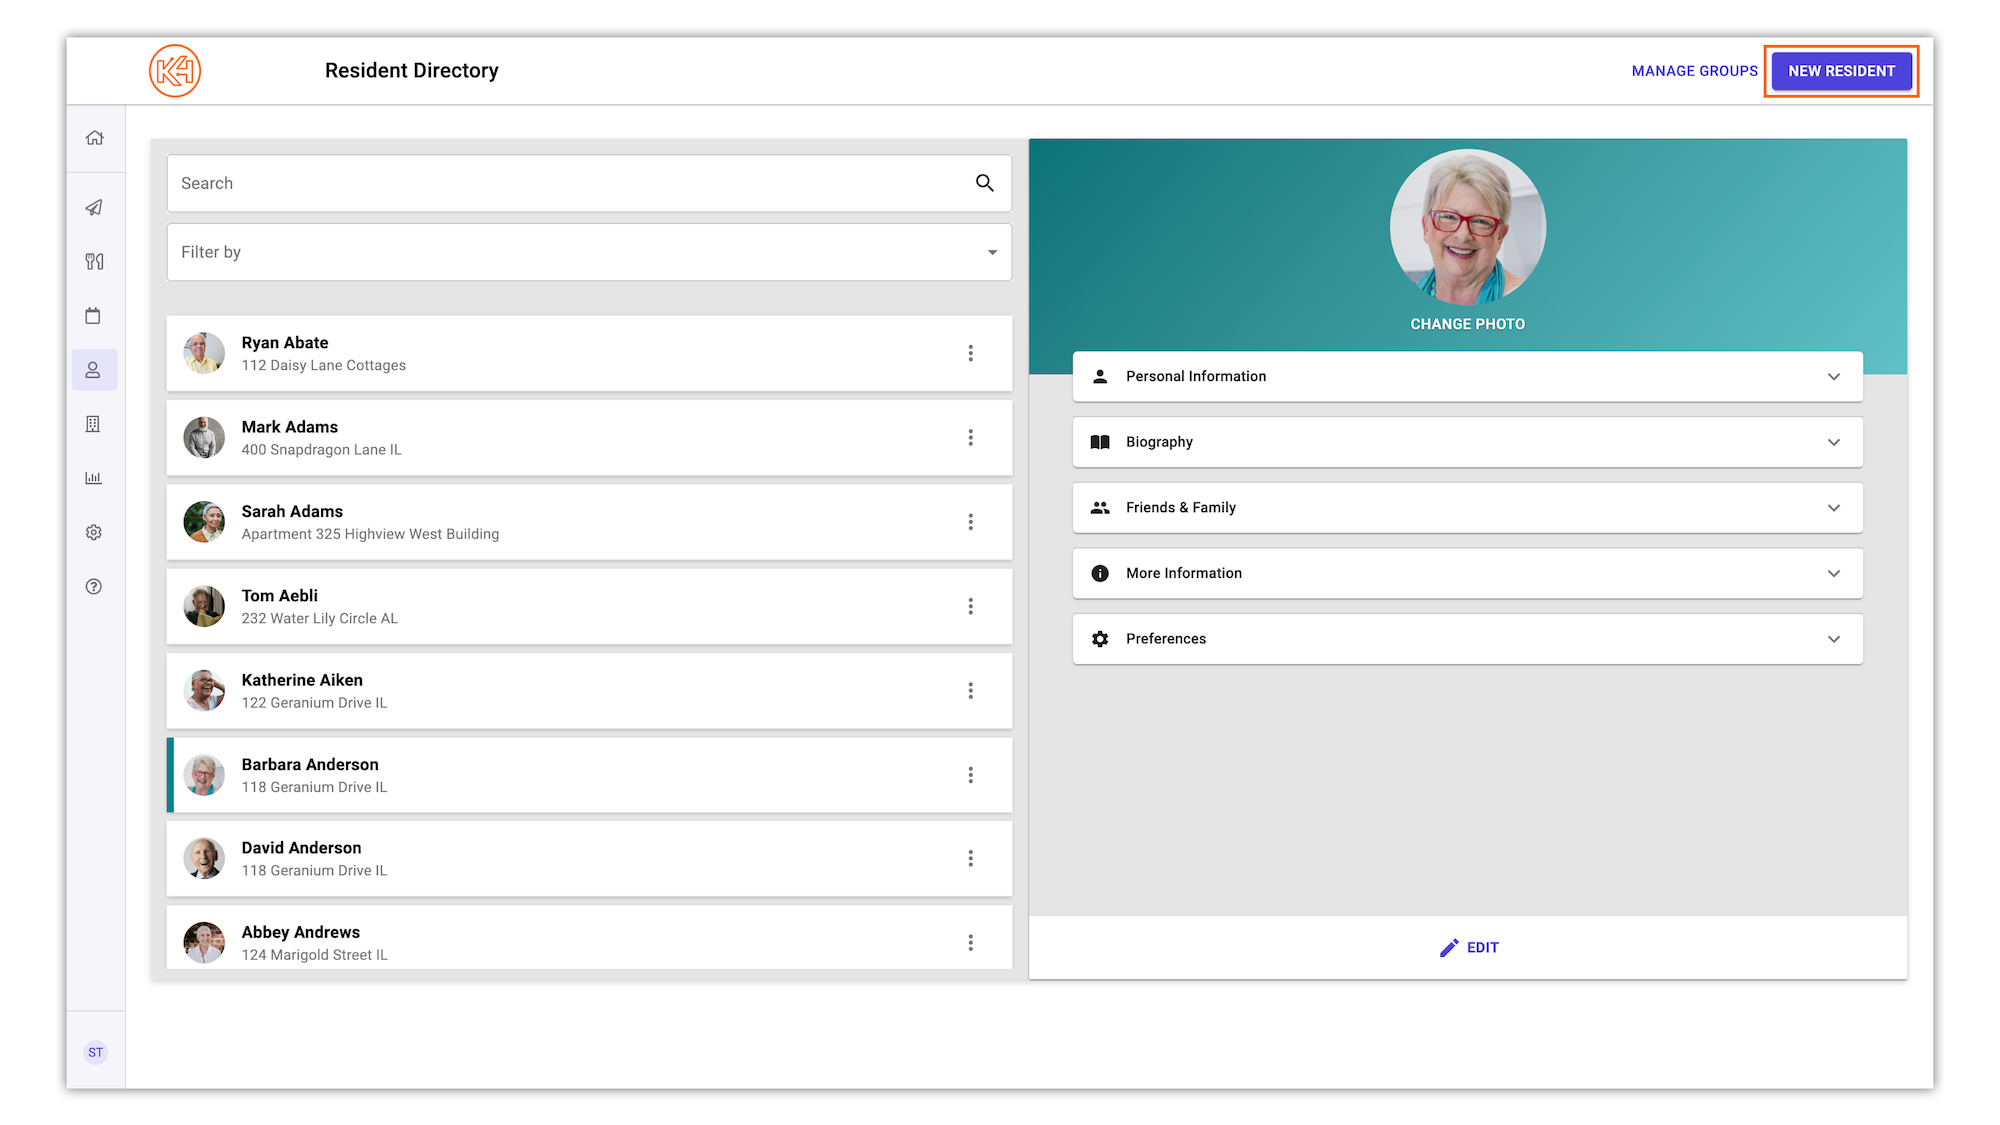
From the left navigation menu, click Residents followed by Directory.
In the top right corner, click New Resident and fill in all required fields (designated with an asterisk)
Note: If a resident is not assigned a care setting in the Directory, they will see all information published to K4Community. Any past posts published to K4Community will be accessible to all residents, unless you go back and edit the post to add a care setting.
- Optional: Click the Friends & Family section to add any friends or family members. You can also do this at a later time. Added individuals will be sent an invitation to connect with the resident through the K4Community Plus app. For more information, please visit the Friends & Family App page.
- Optional: Click the More Information section to enter the Resident's Move-In Date and designate their Residence Type.
- Optional: Click the Preferences section to toggle Resident Check-In Alerts to the On or Off setting. (*Only applicable to communities with Resident Check-In)
Click Save. This will create an internal request for K4Connect Support to complete the move-in.