How to Post Your First Request Form
Table of Contents Introduction With the 3.17 ...
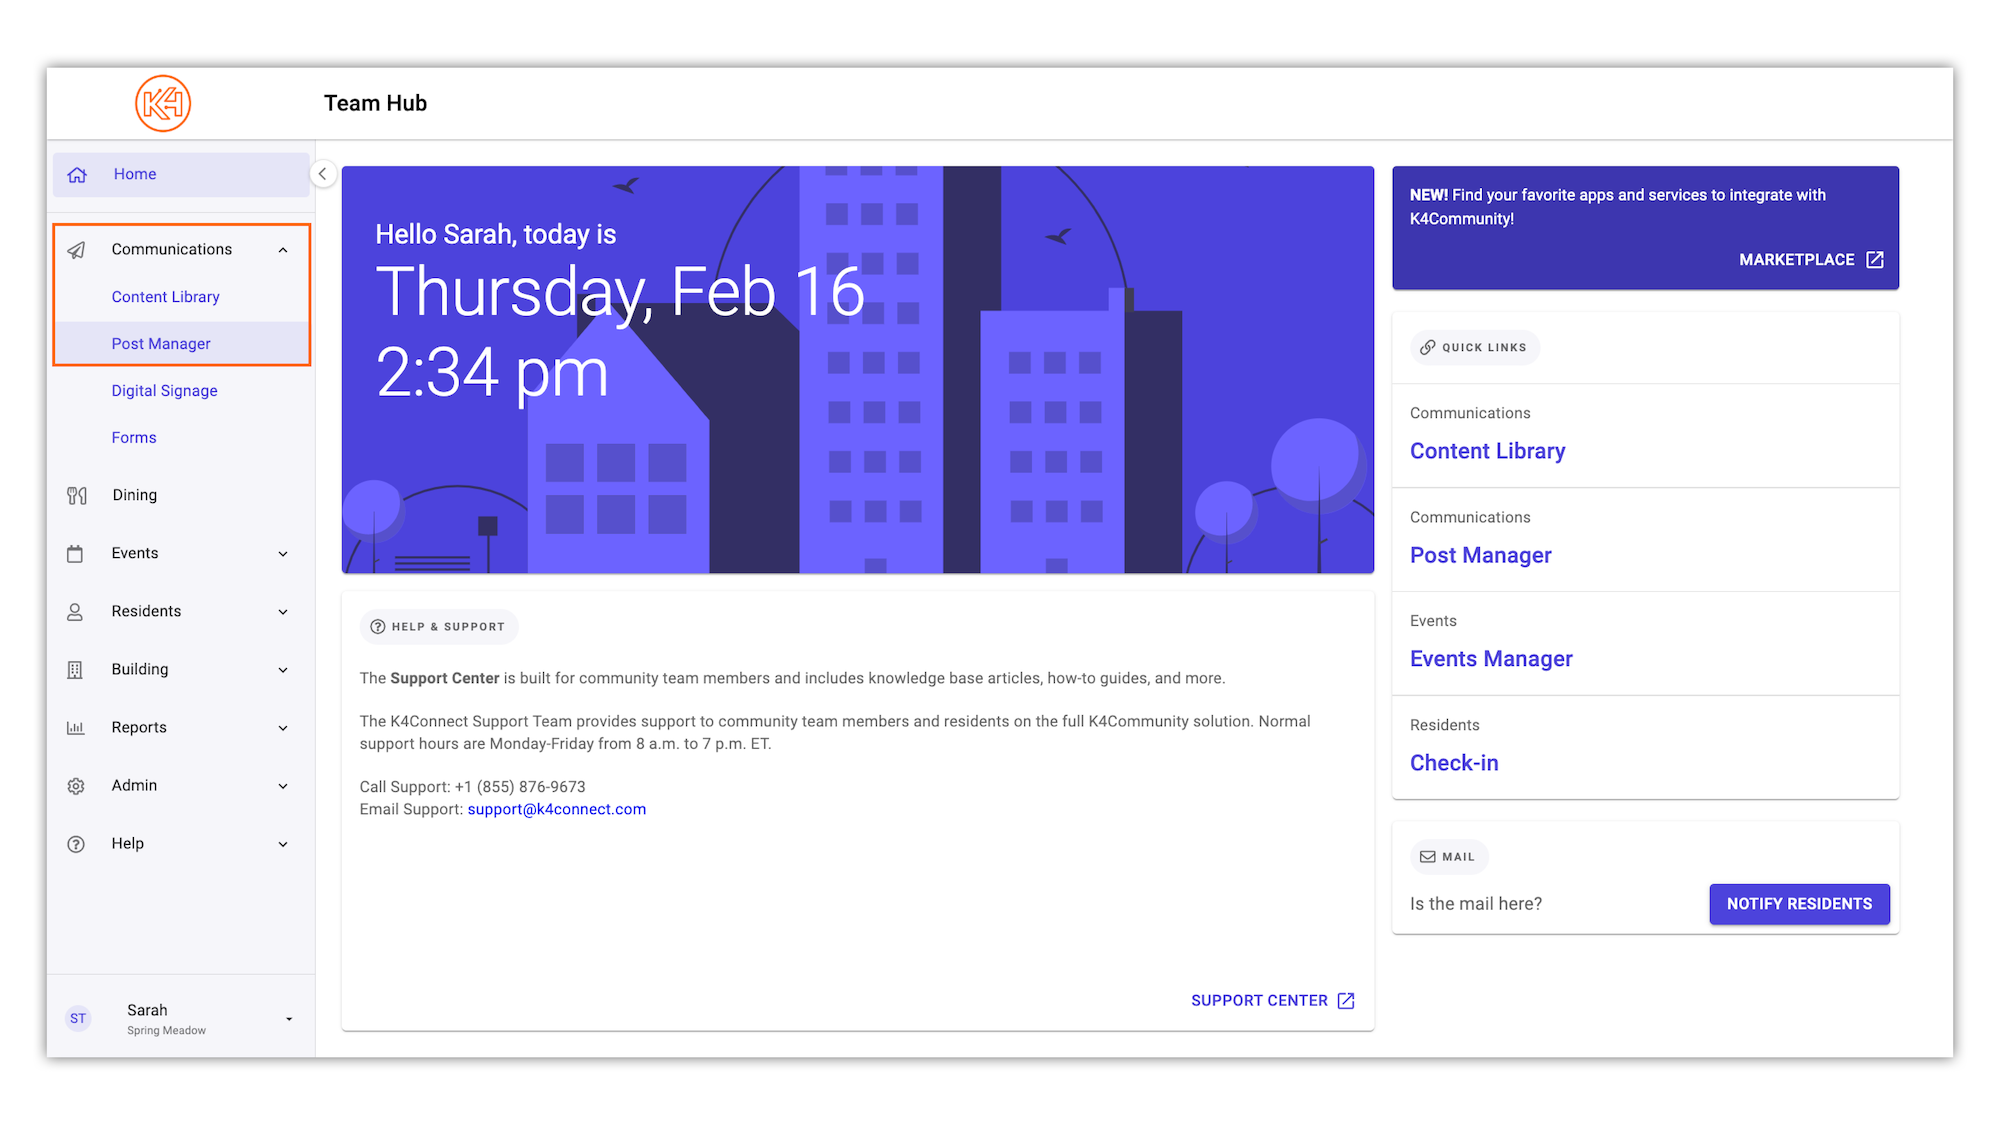
From the left hand navigation in Team Hub, select Communications followed by Post Manager.
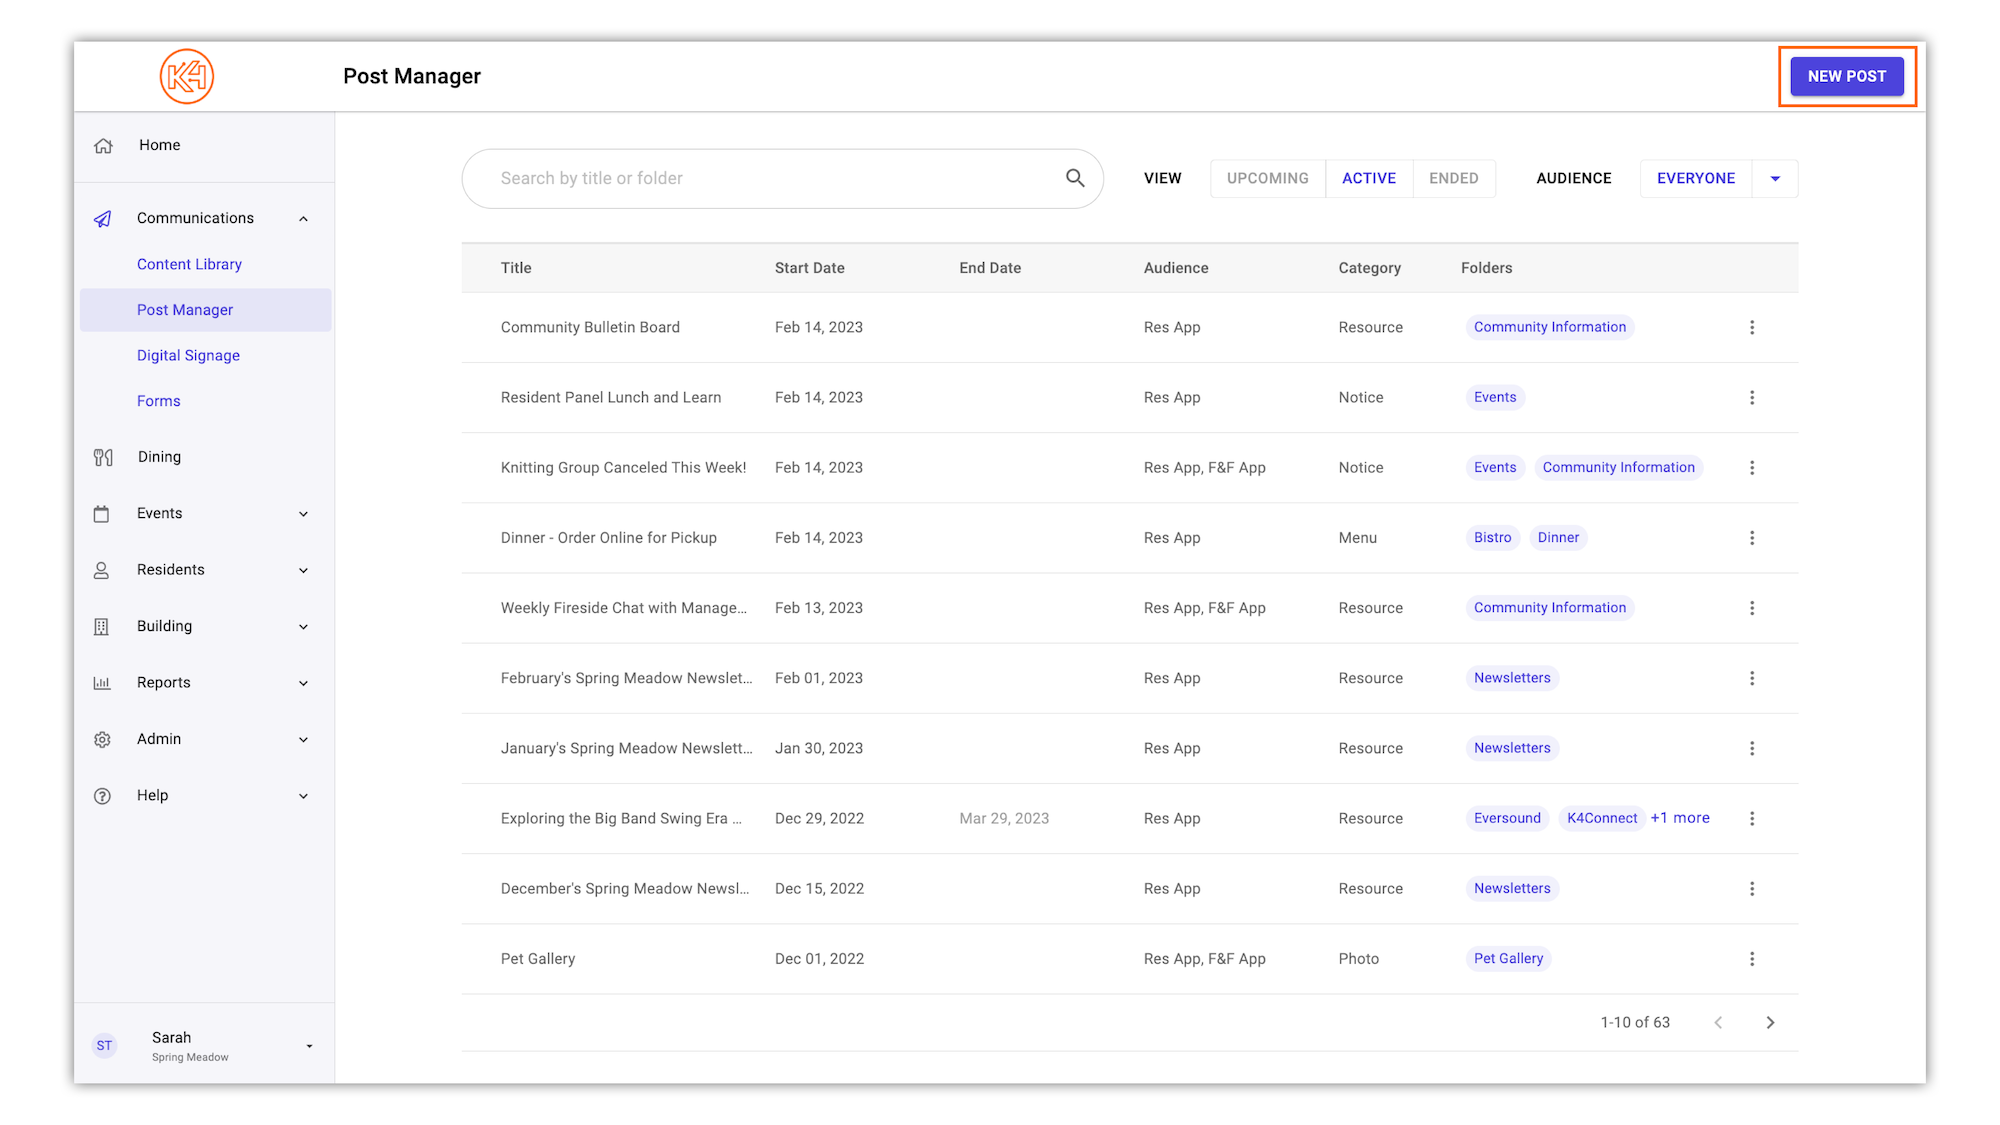
Here, you will be presented with a list view of all existing posts in your community. To begin creating a new post, click NEW POST.
You will be presented with a new window to fill in your post details.
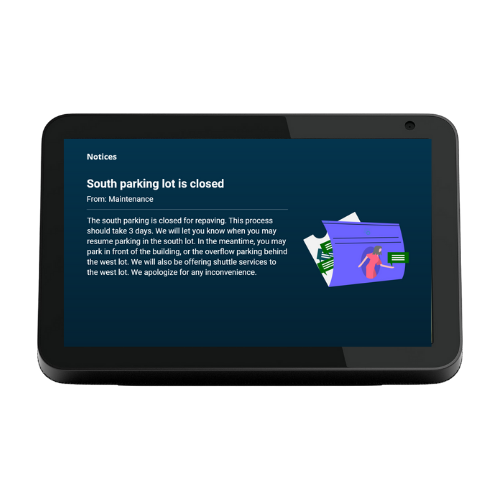
Optional but recommended: Consider providing a description that will help your audience understand the post. Descriptions will appear in the app and read through Voice. Photos and links are accessible in K4Community Plus.
Files: You can drag & drop, browse files from your computer OR choose design from library. Choosing a design from the Library presents a window with all of the content from your Content Library.
Note: MP4 file types cannot be uploaded via the Post Manager. To provide access to a previously recorded video (i.e. Zoom meeting, Google Meet, etc.) you will need to upload the MP4 file to a video sharing site, such as YouTube or Vimeo, and then supply the link to the video in the Post Manager.
Links: Webpages will open inside of the K4Community app. By design this simplifies the resident’s interaction with the app. They don’t have to leave the app to see the link.
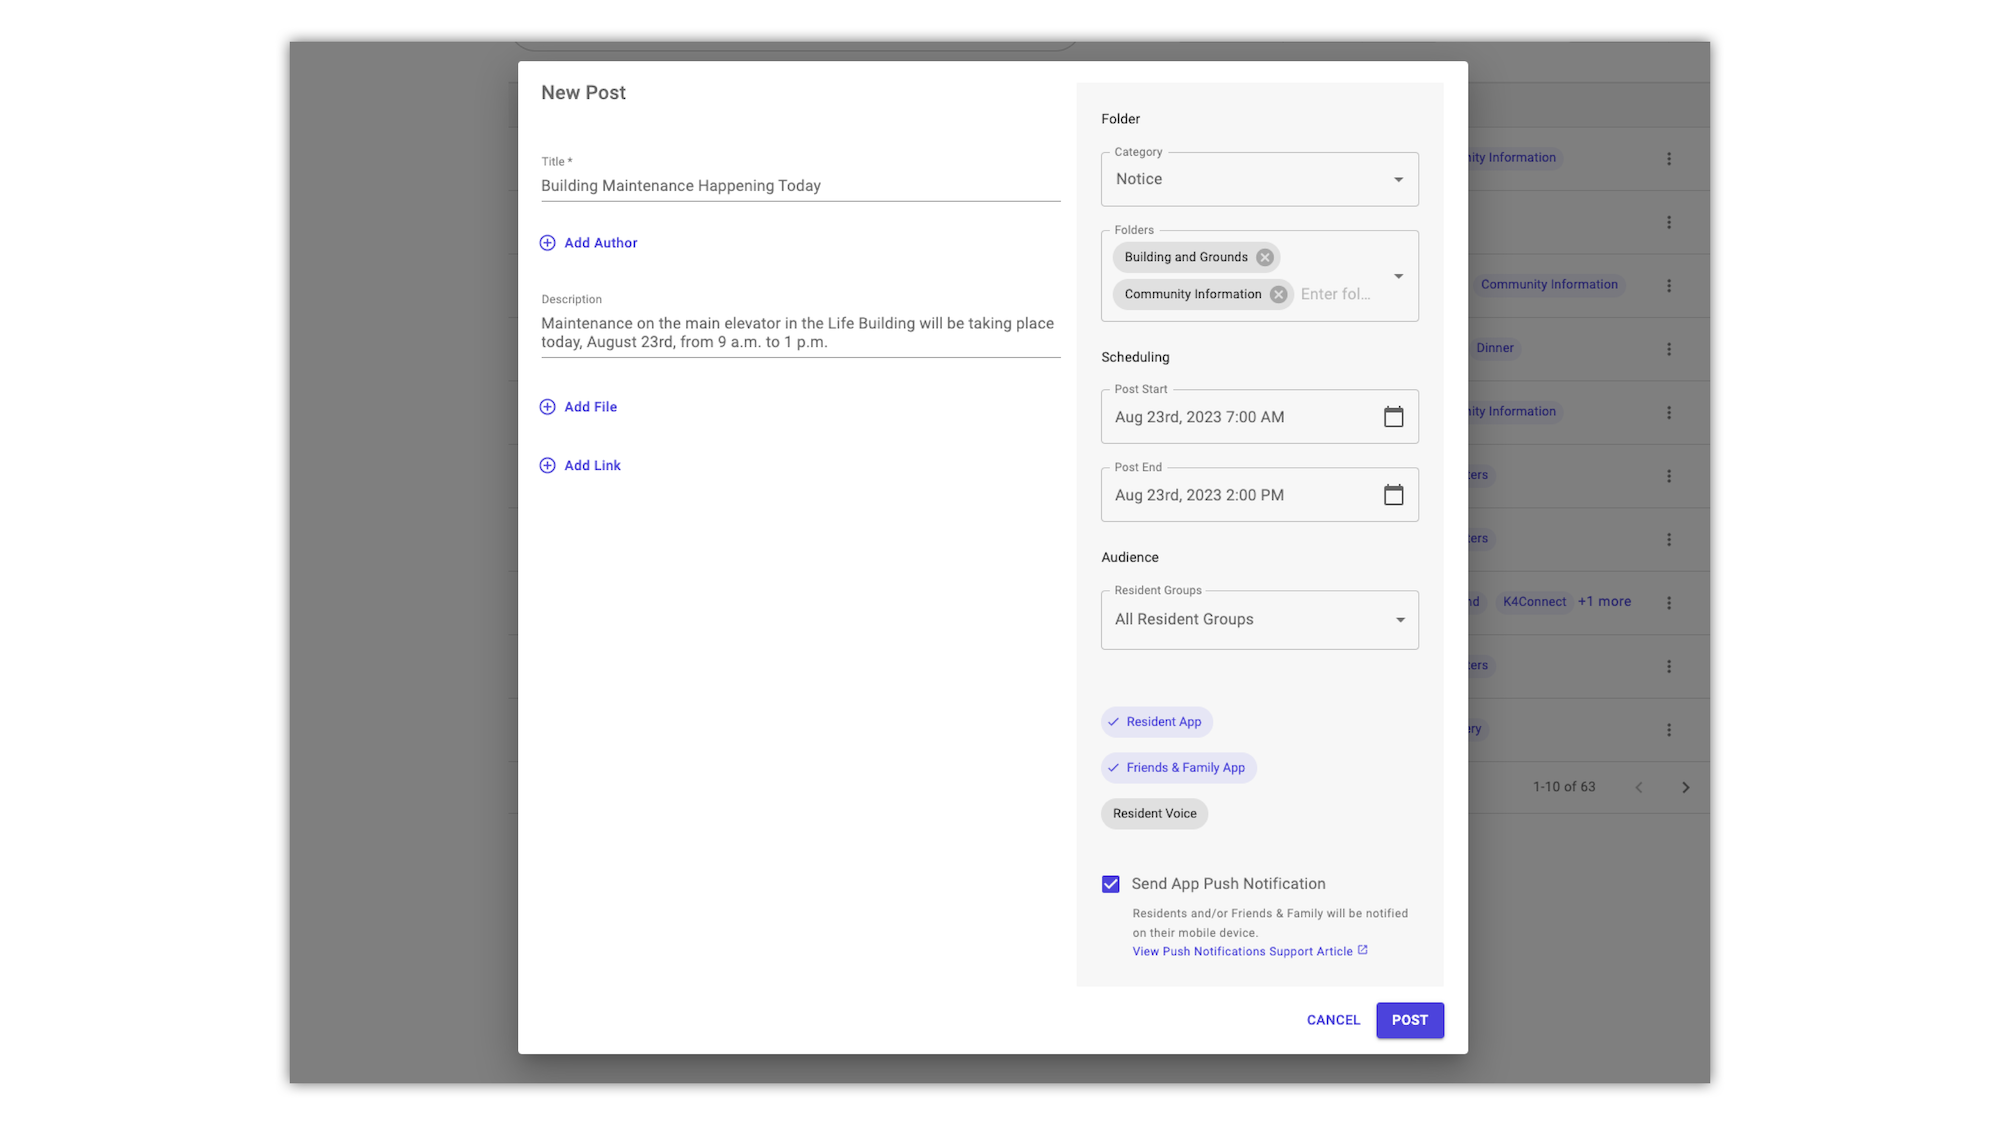
Fill in the Folder, Scheduling, and Audience details.
Folder
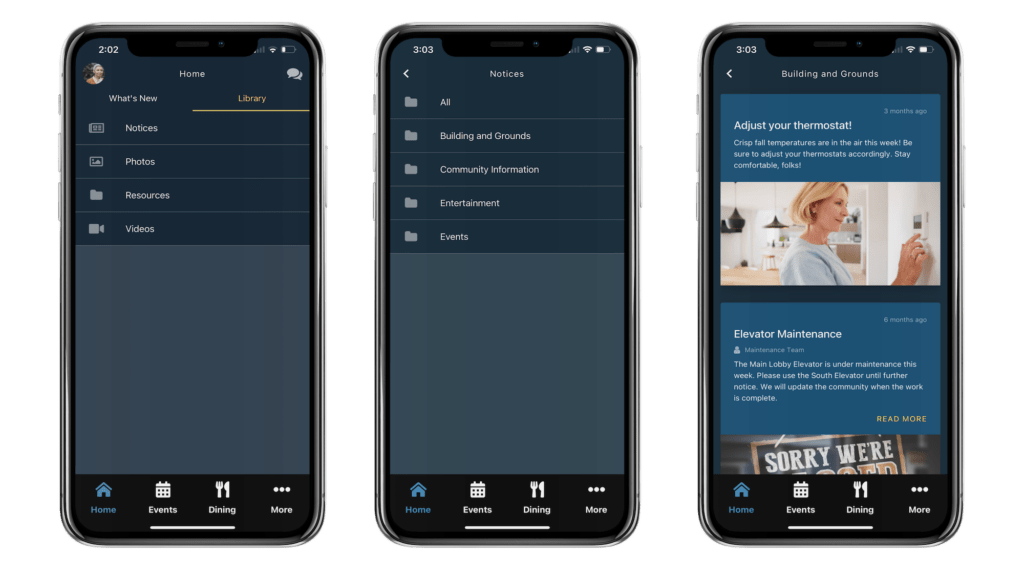
In the folder category, you will be presented with the 6 standard categories: Notice, Resource, Menu, Photo (app only), Video (app only), and Requests (app only).
In K4Community Plus, content will be visible in their respective categories found in the Library: Notices, Photos, Resources, and Videos. Content published to the Menu category will be visible under Dining > Dining Info.
Once the category has been selected, you can sort content into as few or as many folders as you would like. To create a new folder, simply type in the name of the folder and select "create [folder name] folder".
Scheduling
Scheduling dates/times will default to a post start date of "immediately" and a post end date of "never". You are able to schedule content as far ahead in advance as you'd like. If the content you are publishing will no longer be relevant after a particular date/time, ensure you select an end date to keep content for residents timely and relevant.
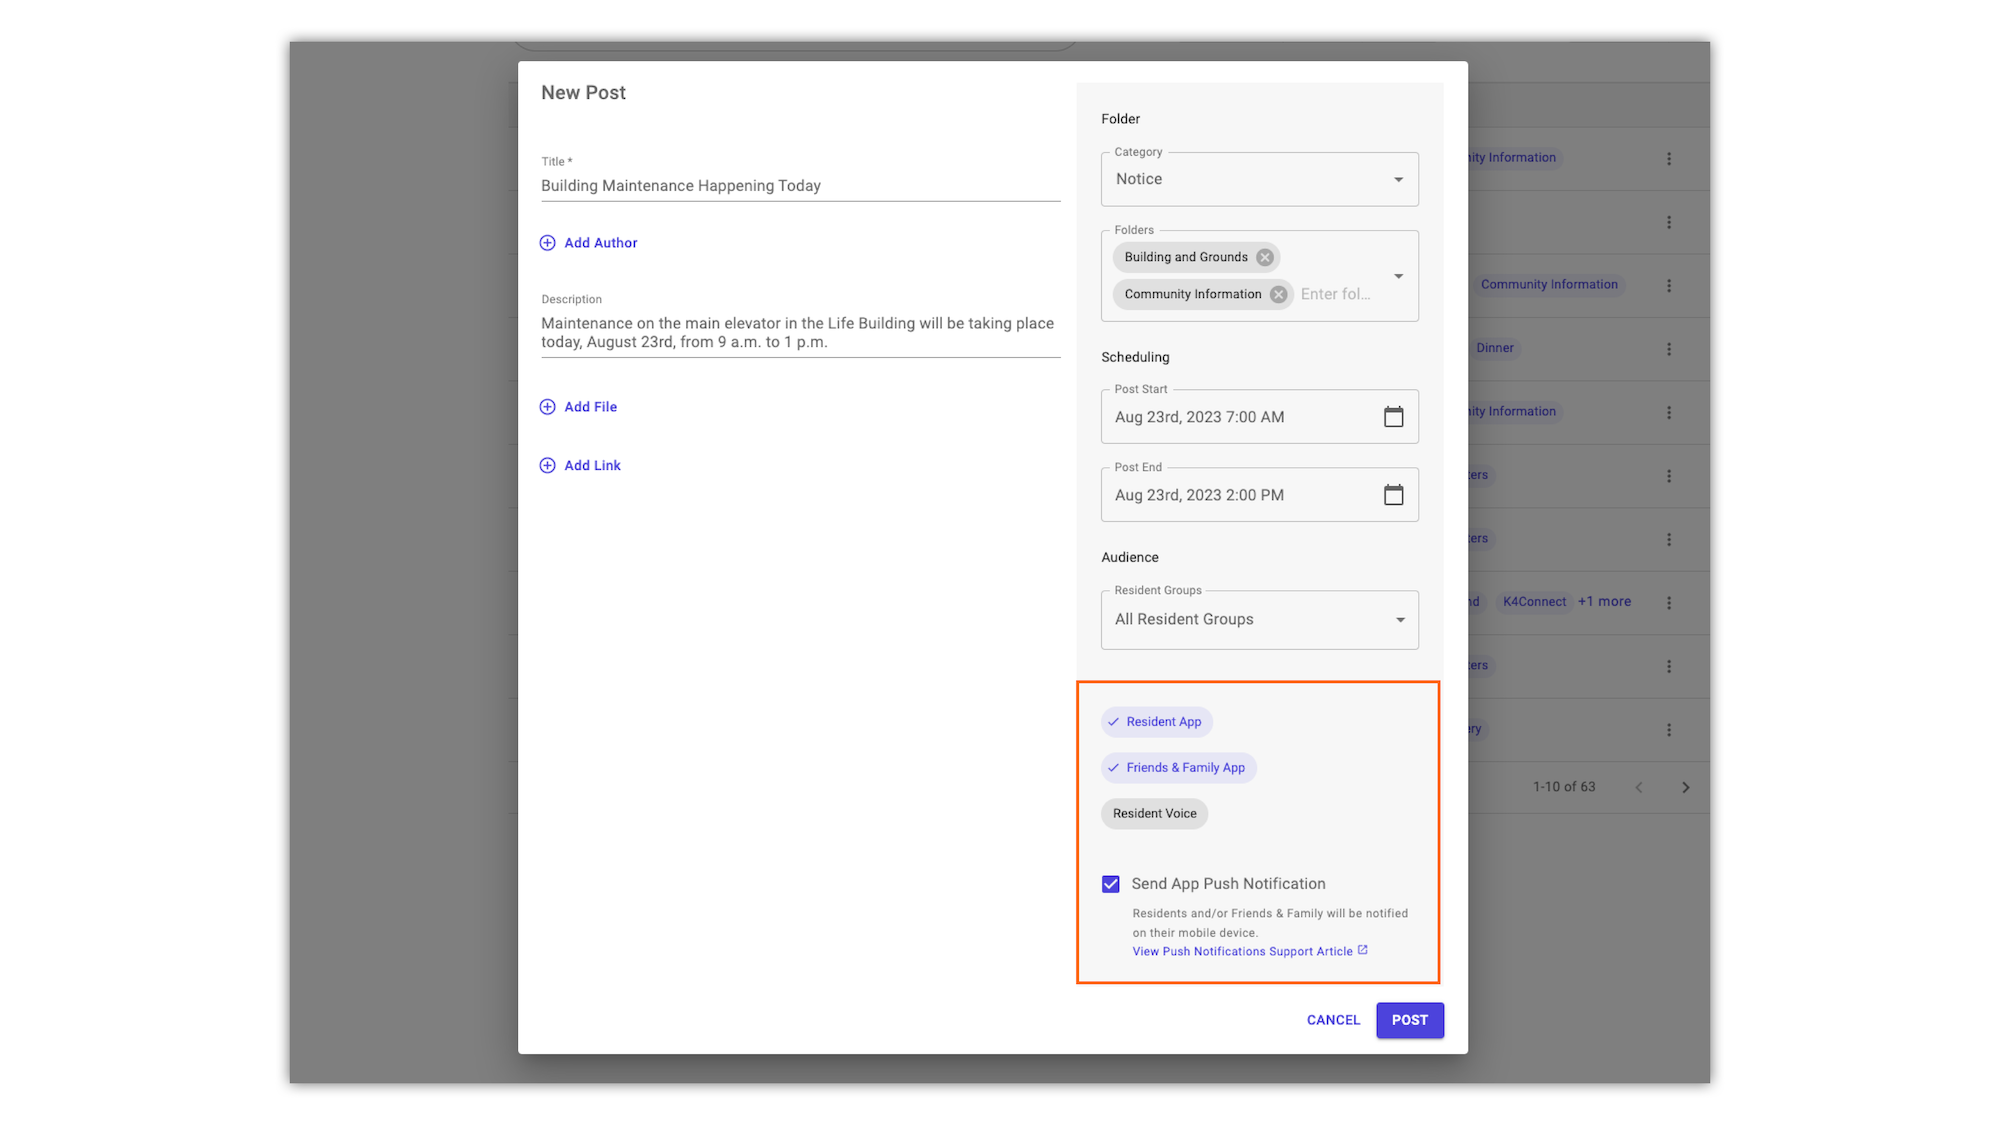
Audience
Select the appropriate audience(s) for your content.
All Resident Groups will default as the selection for Groups. To unselect all groups, deselect "All Resident Groups". Resident groups are created by community staff members from the Resident Directory. Examples of resident groups include, but are certainly not limited to, Independent Living, Tech Advisory Committee, Off Campus, and much more.
If you would like for residents to receive a push notification on their mobile devices for the content, select "Send App Push Notification".
Click Post!