Overview

The Shortcuts feature provides community staff with a valuable tool to enhance accessibility of preferred or frequently accessed information in the K4Community Plus app. With shortcuts, community staff can create customized links that allow residents to quickly access documents and information with just one tap. The shortcuts feature empowers community staff to communicate valuable community information smarter, faster, and with greater convenience.

The purpose of the Shortcut link is to allow residents to access the most important information in the K4Community Plus app in just one tap. The Shortcut will follow the published status of whatever information is being linked to. For instance, if a shortcut is created for an event that has since passed by, the resident will not be able to view the event in question since they wouldn’t be able to view it prior to the Shortcuts feature being introduced.

To learn how to use Shortcuts in your community, follow the brief tutorials below.

Video Overview

Turning Shortcuts On or Off

Community staff have the option to turn the Shortcuts feature on or off for their community. The feature will be turned off by default giving community staff time to get Shortcuts created and in place prior to surfacing the feature to their residents.

To turn the feature on or off, simply toggle the On/Off button in the top right corner of the screen.

How to Create and Edit a Shortcut

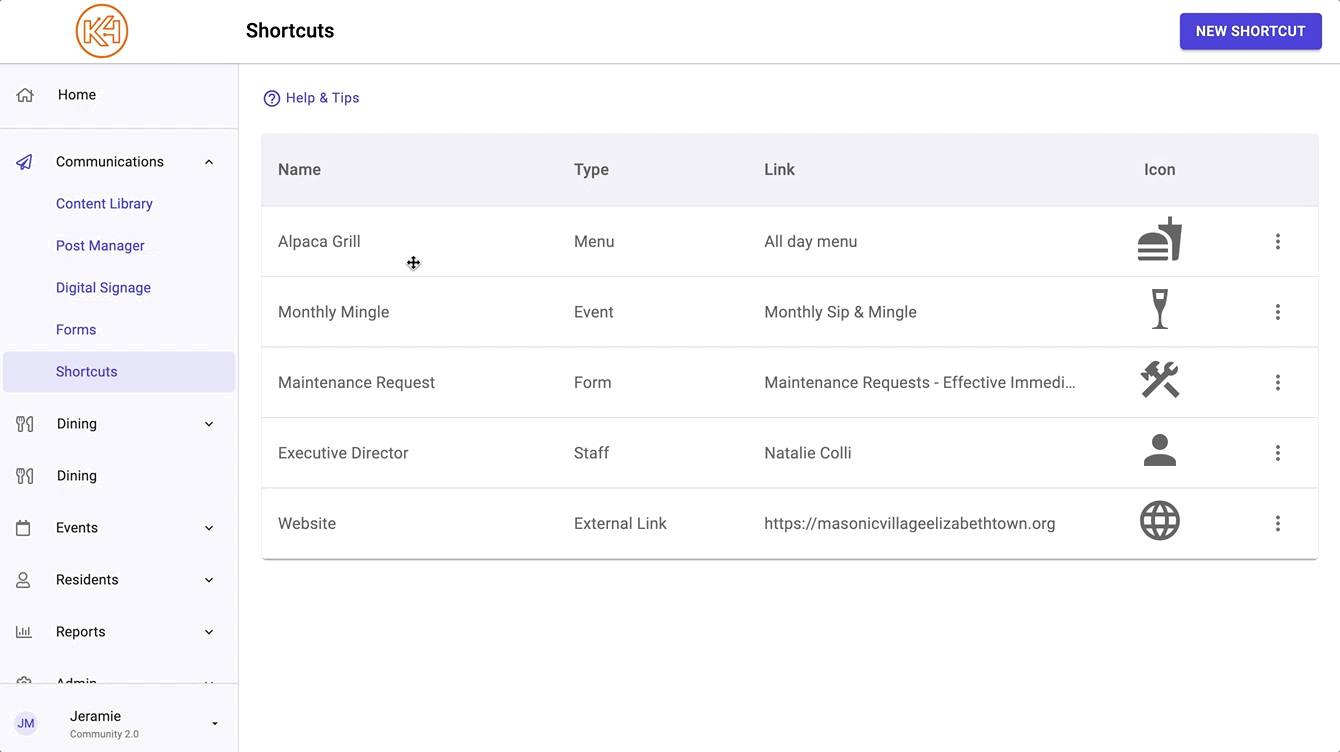
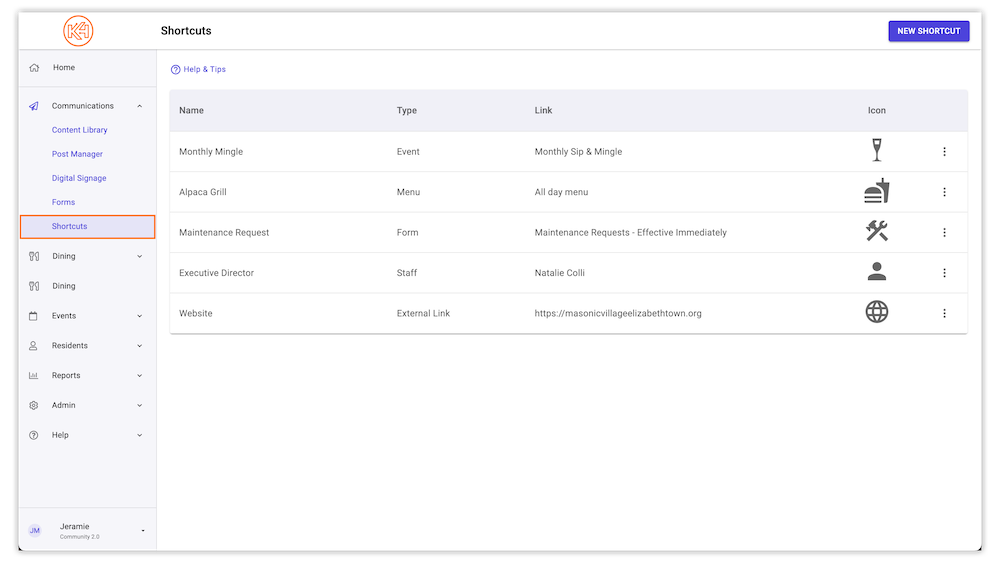
  1. To create a Shortcut, click on Communications in Team Hub and select Shortcuts.

  2. Click on New Shortcut and fill out the Name and Type of Shortcut needed. Depending on the type of Shortcut selected, the next field will offer custom information that can be selected as the Shortcut destination.

    💡 Tip: The dropdown fields used to create the Shortcuts are searchable. Just start typing the name of the document, event, folder, etc. that you’re looking for and the list will be filtered automatically.

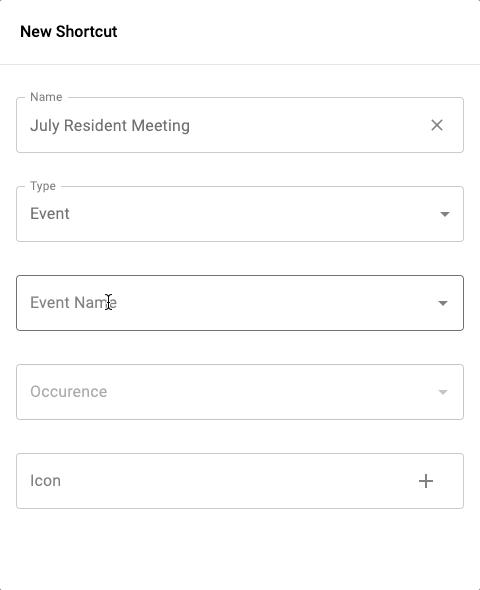
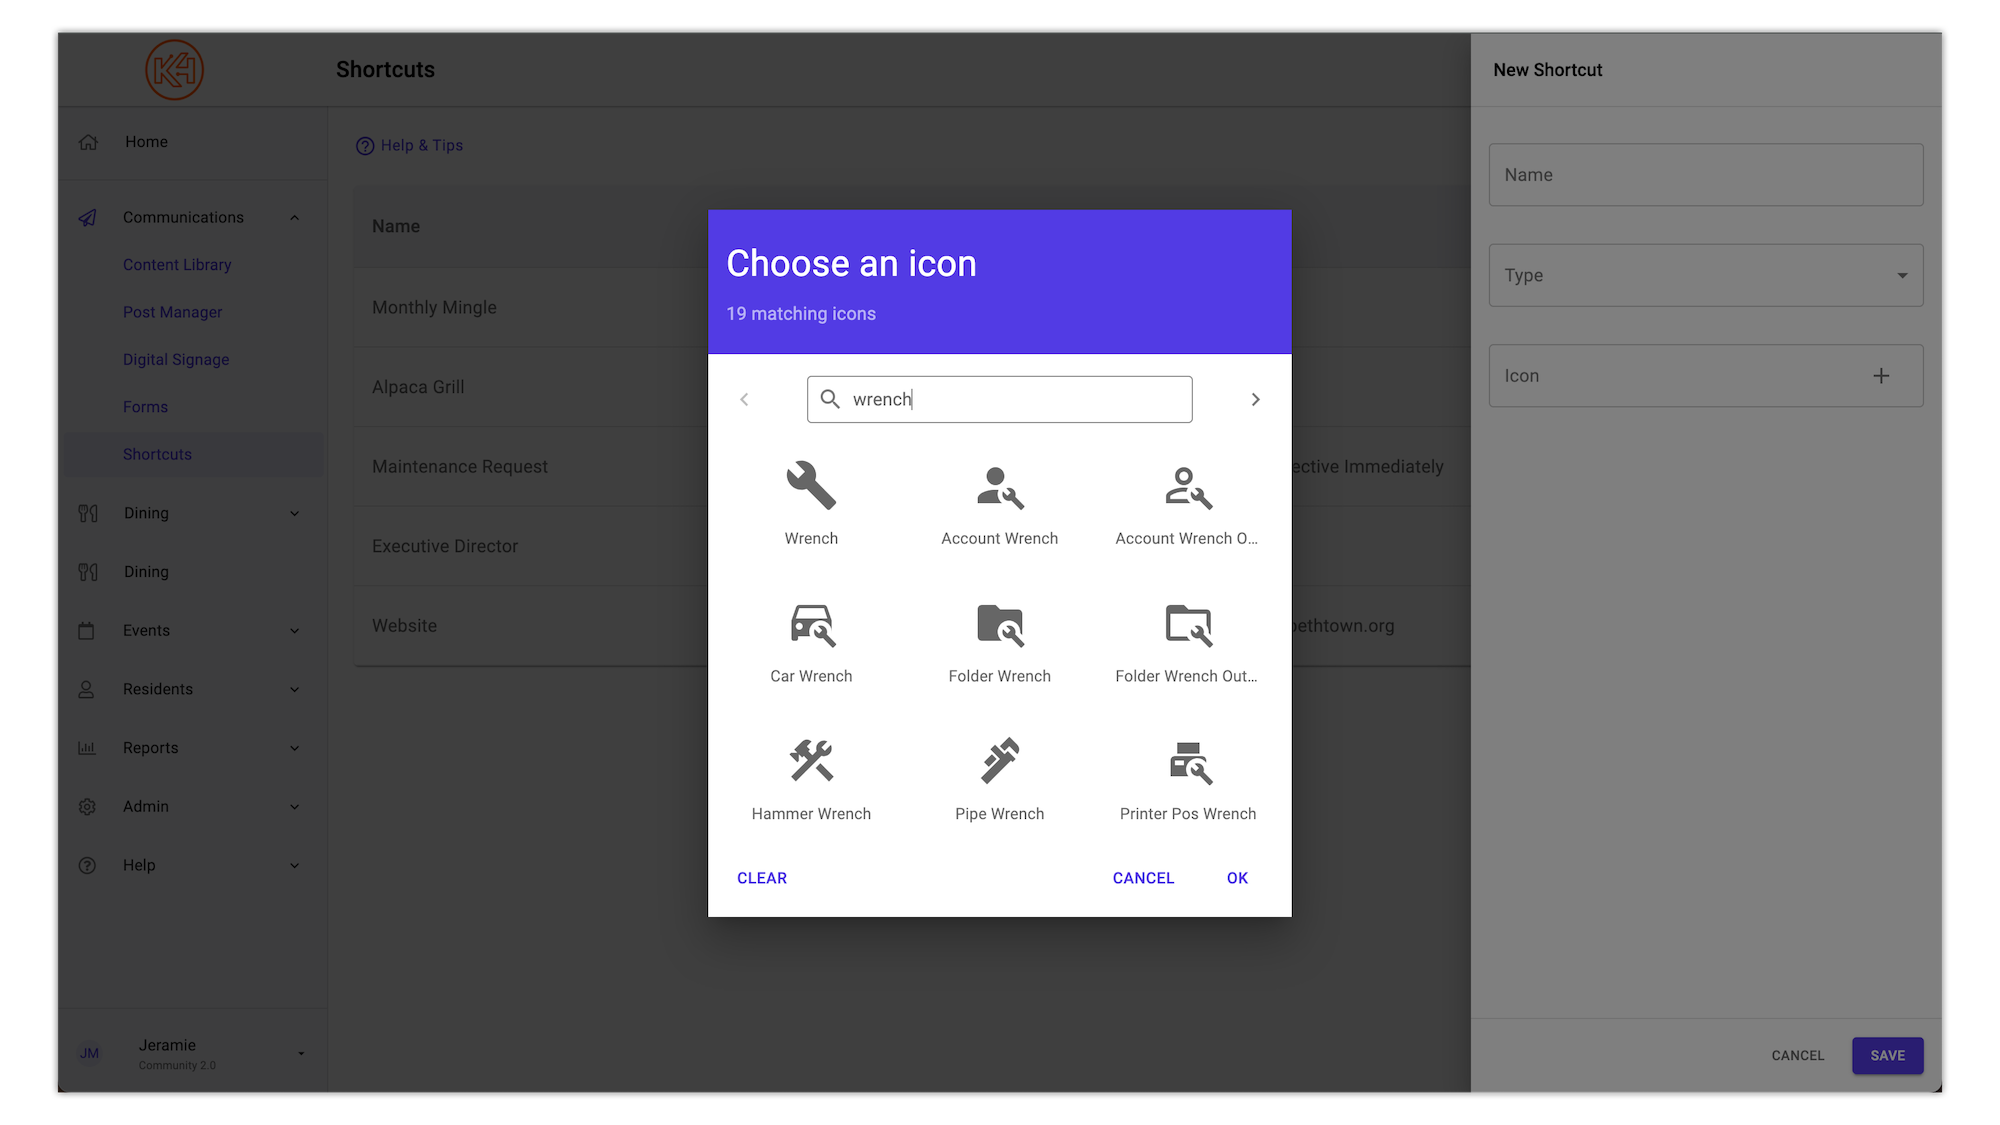
  3. Next, select the icon you would like to represent the shortcut you’ve created. If you know the name of the icon you want, typing it in the Icon field will choose it for you. Clicking the + icon will provide a searchable window showing examples of all the available icons.

    For instance, if you’ve created a shortcut to the Work Order form, you might choose the Hammer/Wrench icon. So, search the word “wrench” and you’ll see icons containing wrenches.

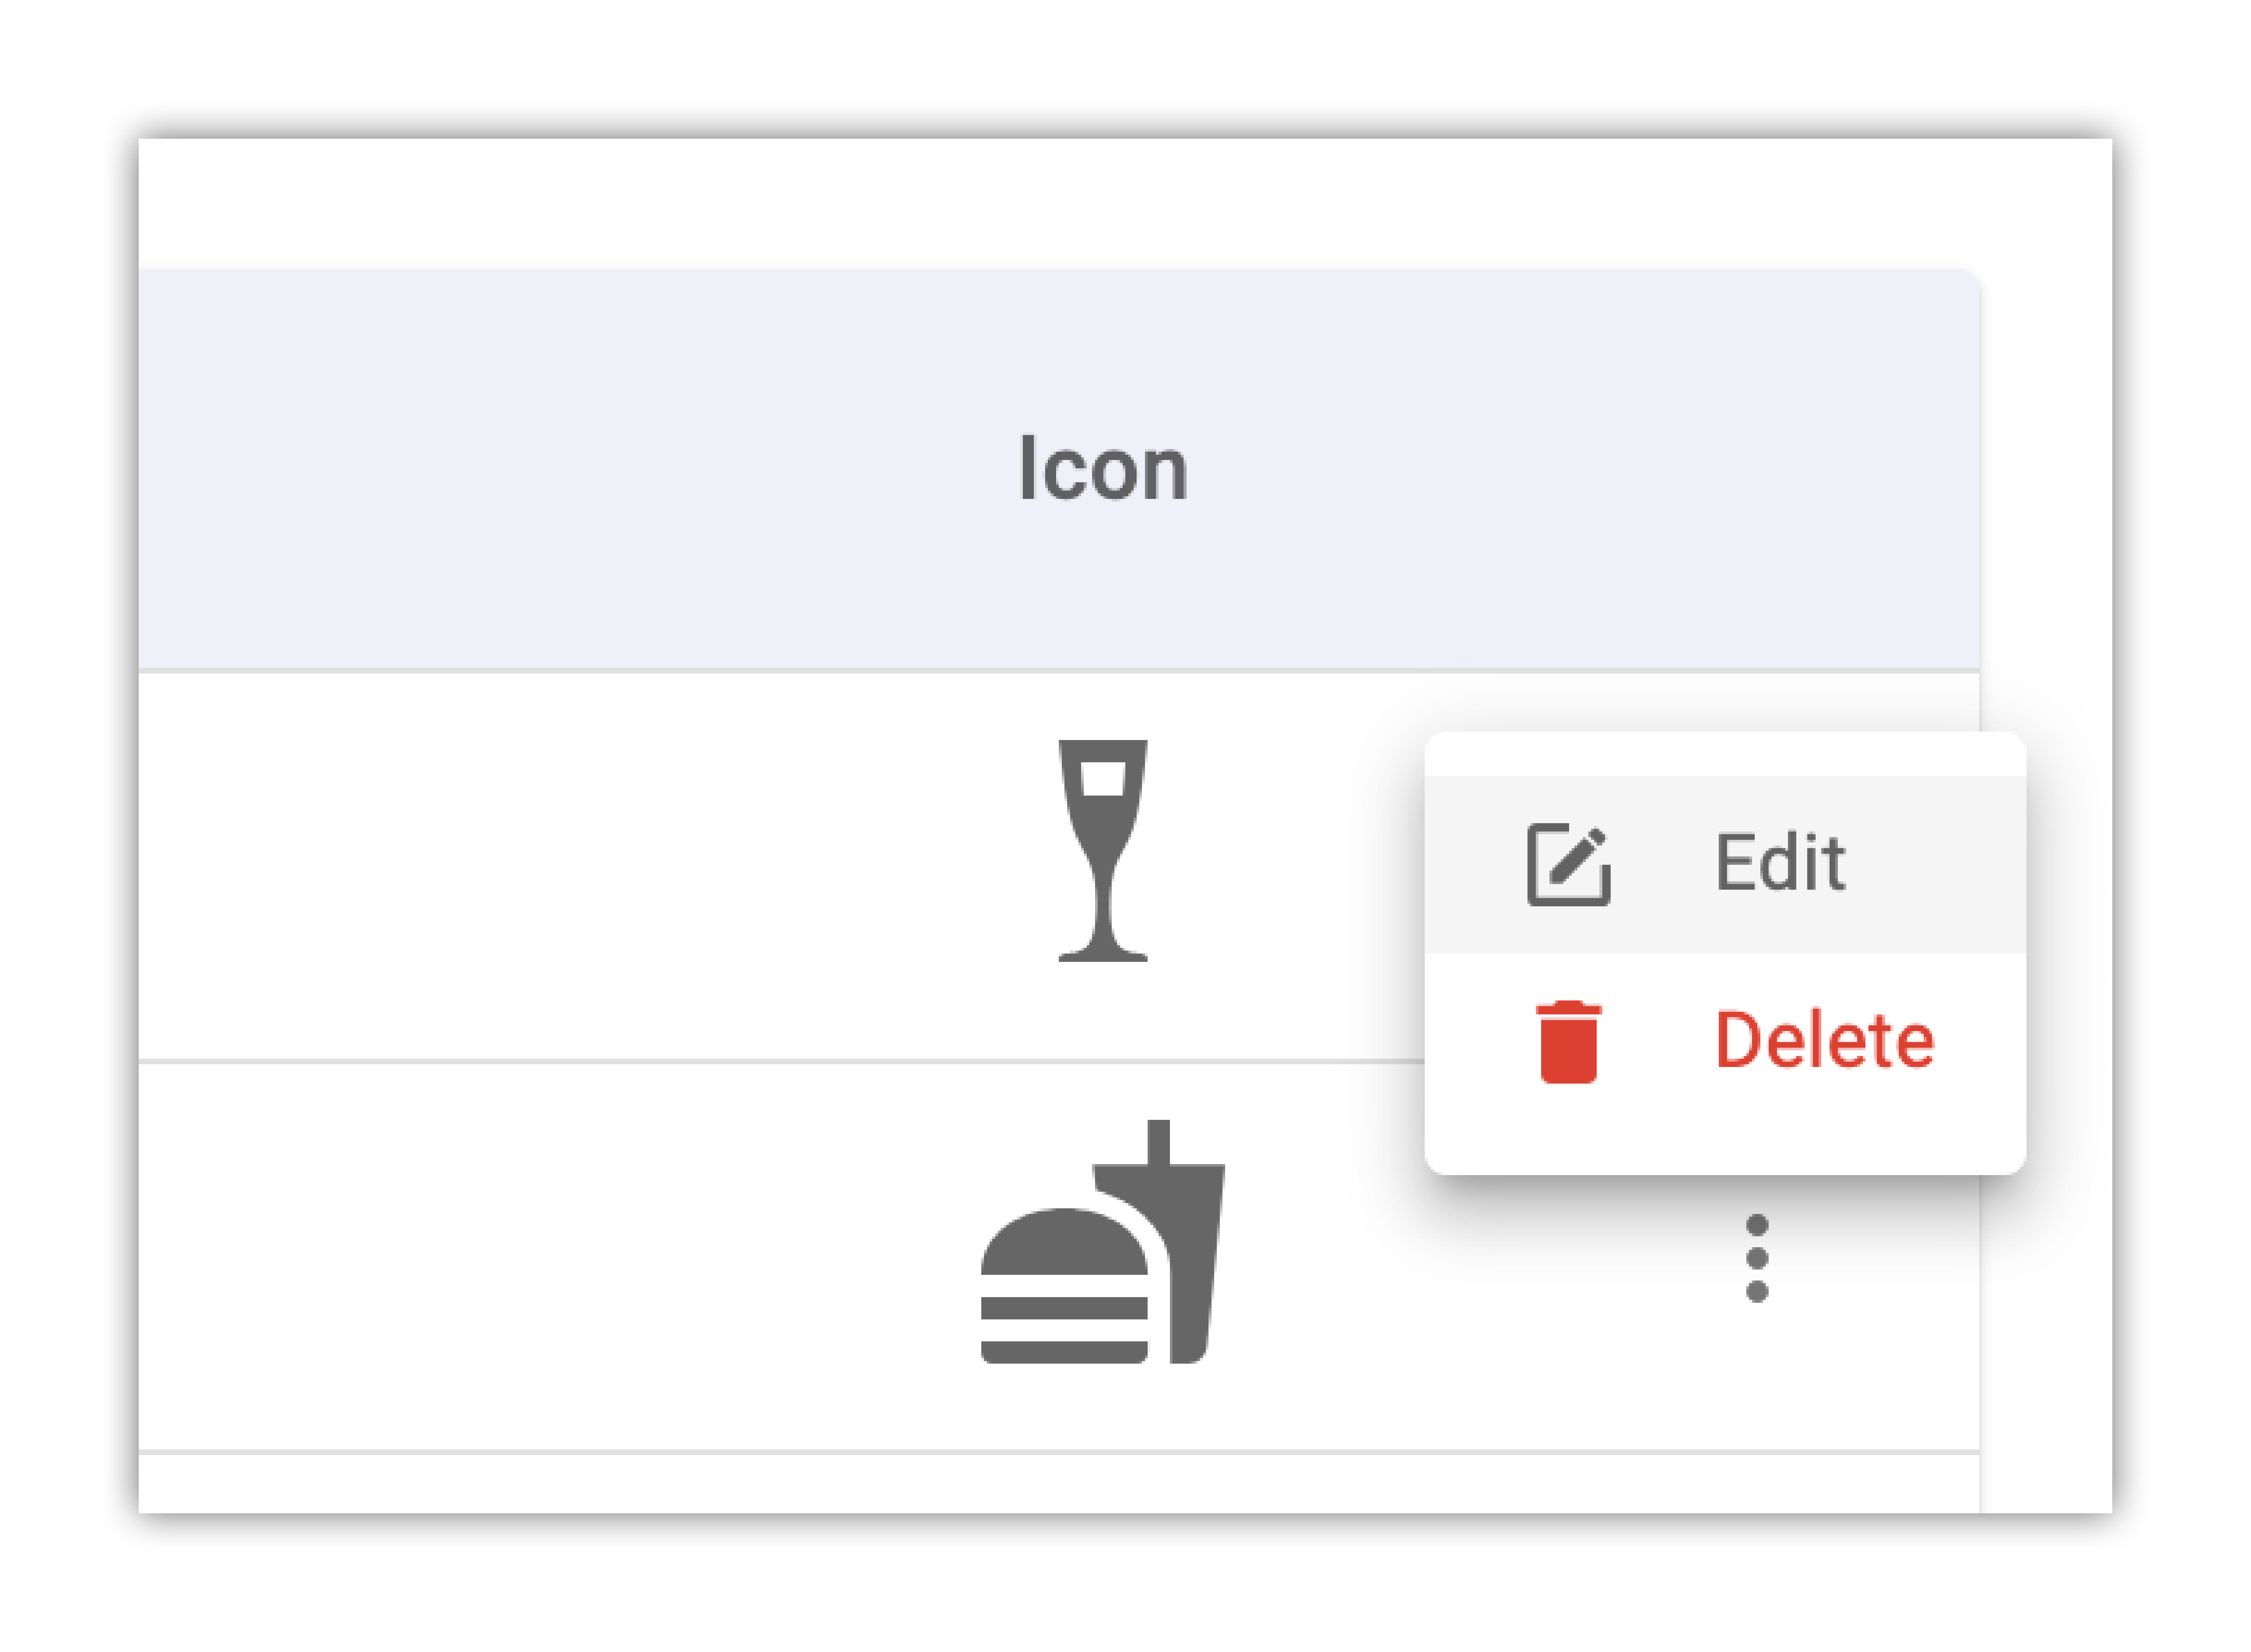
  4. To edit your existing Shortcuts, click the 3-dot menu on the Shortcut and select “Edit”. You’ll be presented with the same editor used to create the shortcut. Make any needed edits and click Save.

    To delete a Shortcut, click the 3-dot menu on the Shortcut and select “Delete”. When prompted “Are you sure you want to delete this shortcut?” click Delete.

Was this article helpful?
Share This Article

Related Posts

How to Post Your First Request Form

Table of Contents Introduction With the 3.17 ...

How to Create a New Event or Event Series

Overview Creating a new event or event series only take...

How to Create a Virtual Event

NEW! Repeating Virtual Events! Virtual events now have...