There is a lot of information here! Looking for a specific widget topic? Check out the Table of Contents to the right to skip to a specific section.
Overview
Team Hub widgets are easy to use and are designed to help streamline your current workflows by automatically populating information from varying sources; such as the Team Hub Events Manager, Dining Manager, and more. A widget is a tool option that is found in the Content Creator. To learn how to select, edit, and publish your widget to a variety of endpoints, continue reading below for more!
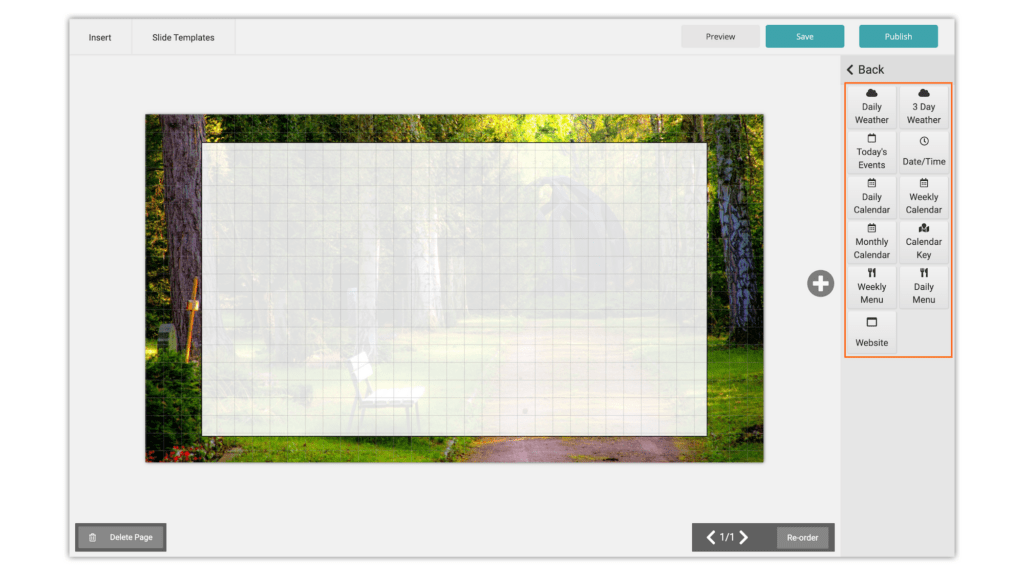
Available Widgets:
Daily Weather
3 Day Weather
Date/Time
Today’s Events
Daily Calendar
Weekly Calendar
Monthly Calendar
Calendar Key
Weekly Menu
Daily Menu
Website
Creating a Design/Slide for a Widget
To select a widget, you must first open a new or existing design in the Content Creator. When creating a design, staff have a variety of options available. The first priority when creating a design though is understanding the use of the document once it is published/printed in order to select the best setup for the design. For example, if you are creating a printable monthly calendar using the Monthly Calendar Widget, the setup of the design will be different than that of a Weather Widget slide published to a digital signage screen in the community. Similarly, it is important to distinguish whether your design needs to be created as a landscape design or a portrait design.
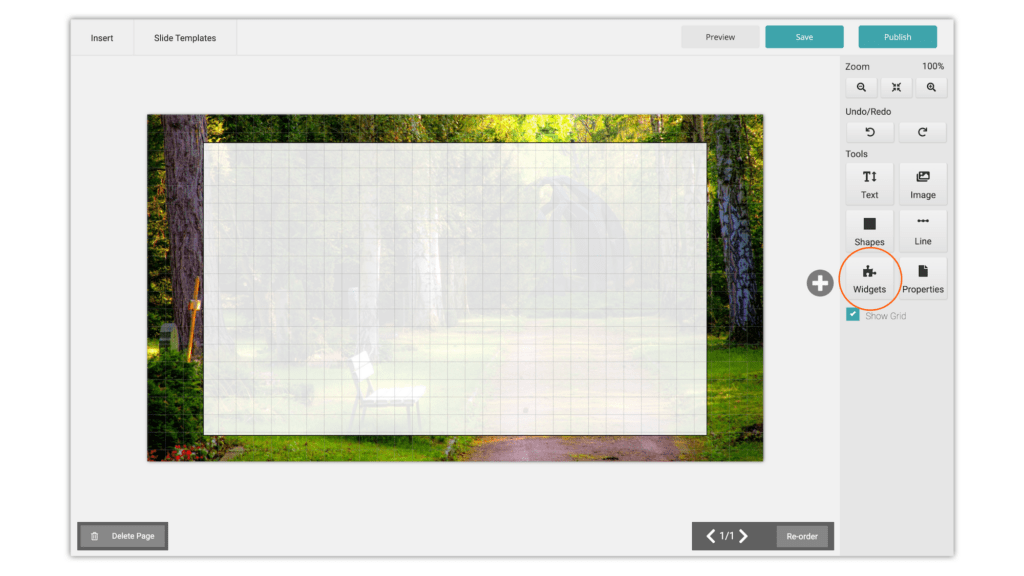
Once you have opened your design, select “widgets” in the right-hand tool bar of the Content Creator. You will then be presented with all of the available widget options.
In the section Types of Widgets, we will briefly cover our recommended setup options for each widget.
To read more in detail about general design setup and orientation options, click here.
Select "Widgets" in the right-hand tool bar of the Content Creator
Select your desired widget from the options available
🪄 Pro Tip:
Looking to save time and effort on design? Check out the “Slide Templates” tab at the top of the Content Creator grid. There are a variety of slide templates available, including an “auto-updating” section containing several auto-updating widget options. Auto-updating widgets default to the current day, so once the widget is published to Digital Signage or Direct Broadcast, there is no need to update day to day!
For example, if the “Daily Calendar” widget is selected and the date selection is set to “today’s date“, the widget will automatically pull event details from the Events Manager each day, saving staff valuable time in the long run.
Types of Widgets
Weather and Date/Time Widgets
Weather widgets populate your community’s local weather. The Date/Time widget populates your local region’s date and time. Once published to Digital Signage or Direct Broadcast, these widgets will update in real time without needing any additional steps from staff.
Design Setup Recommendations:
Weather and date/time widgets are quite versatile. These widgets are suitable for any size of either landscape or portrait orientations.
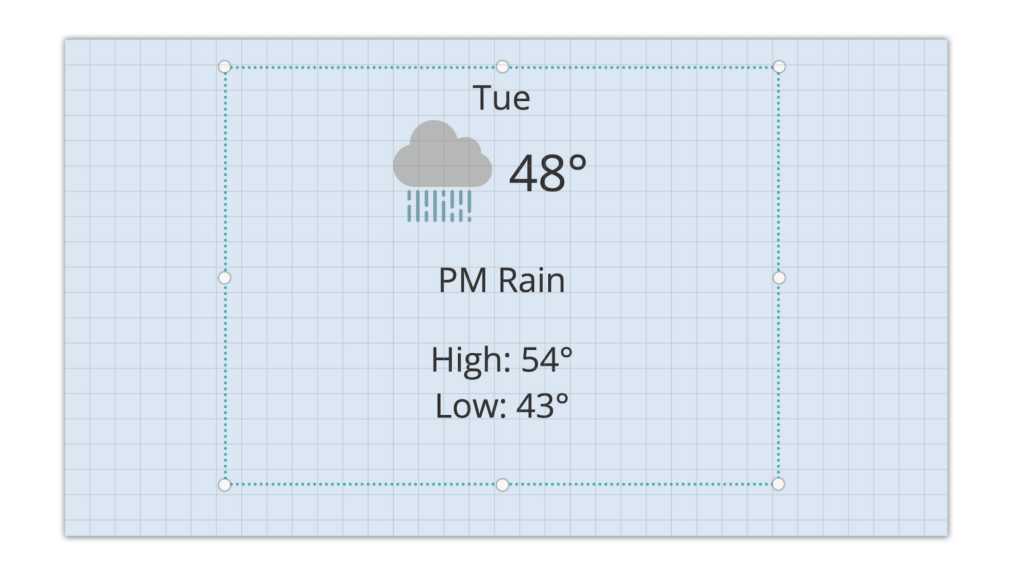
Daily Weather Widget
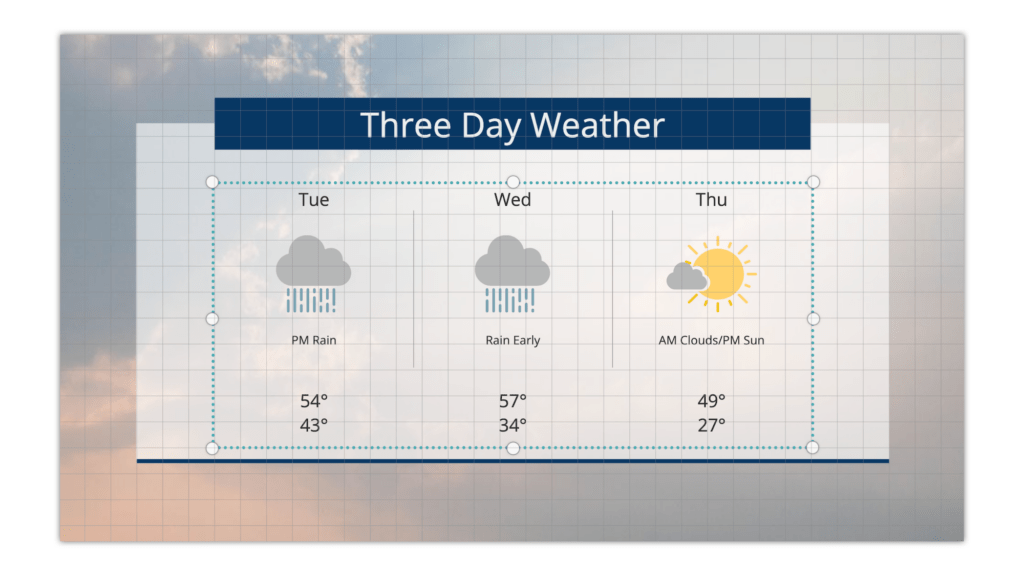
3 Day Weather Widget
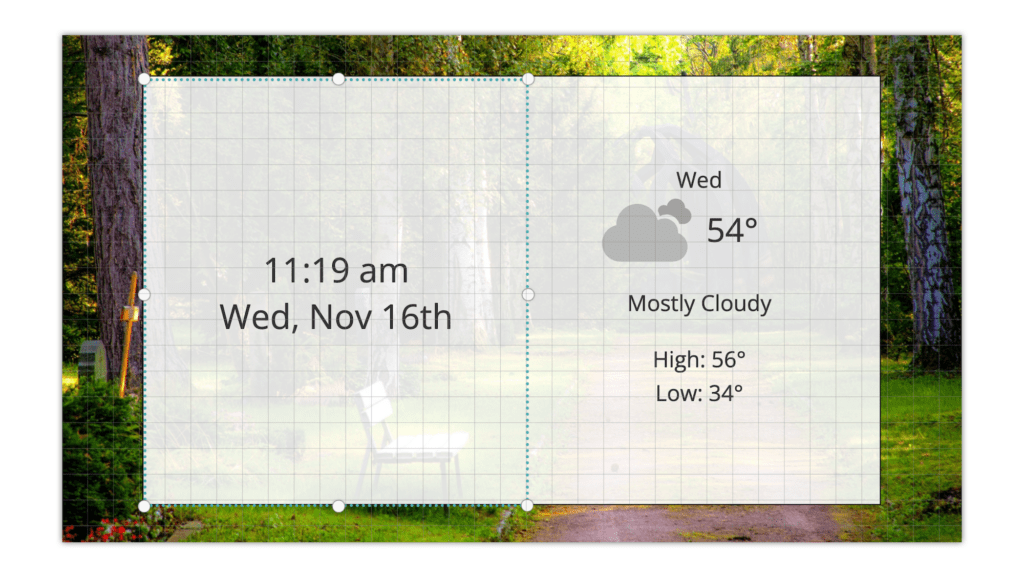
Date/Time and Daily Weather Widget
Calendar Widgets
Calendar widgets populate information inputted into the Event Manager. Once published to Digital Signage or Direct Broadcast, calendar widgets will automatically reflect any changes made to events in the Events Manager in real time.
Design Setup Recommendations:
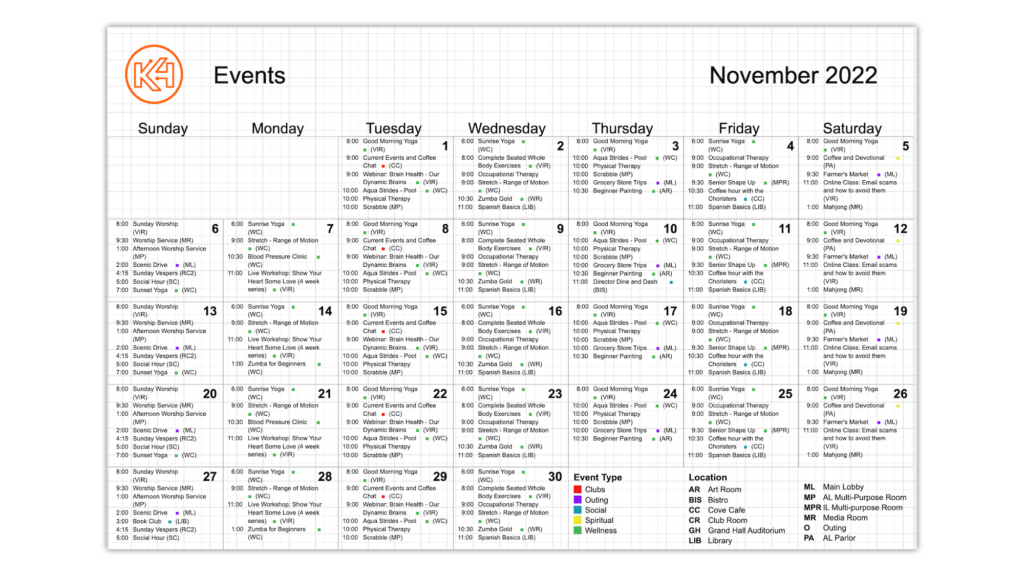
Calendar widgets are also quite versatile, however the Weekly Calendar Widget and the Monthly Calendar Widget perform best in a landscape orientation.
For the best view of the Monthly Calendar Widget, select Landscape Orientation and the Monthly Calendar (17″ x 11″) size when first creating your design.
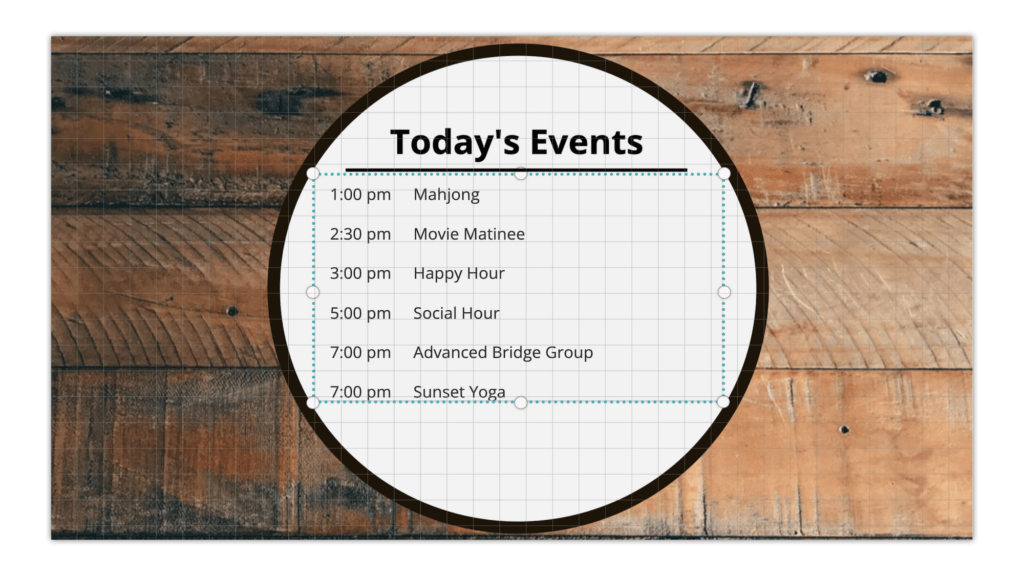
Today's Events Widget
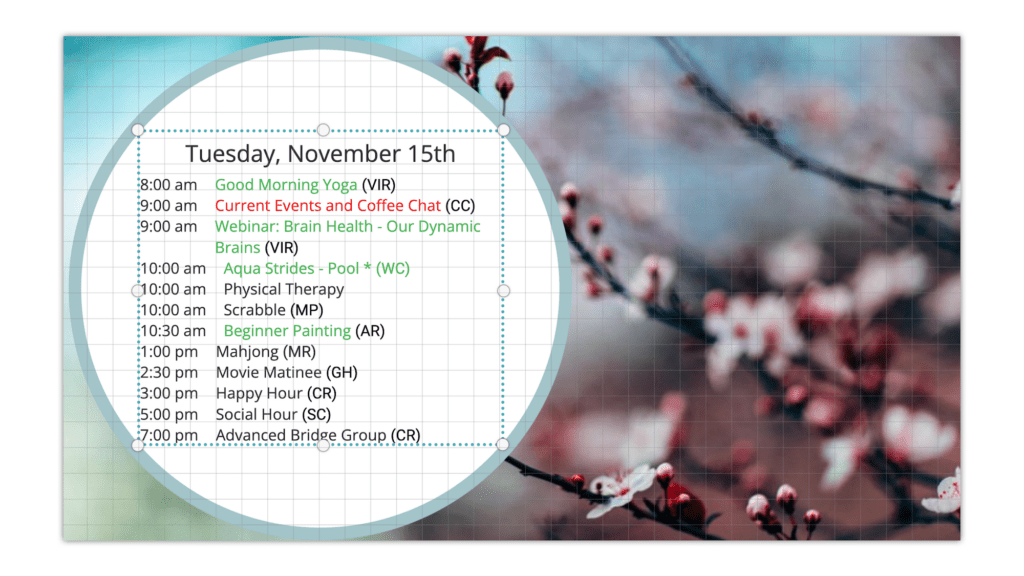
Daily Calendar Widget
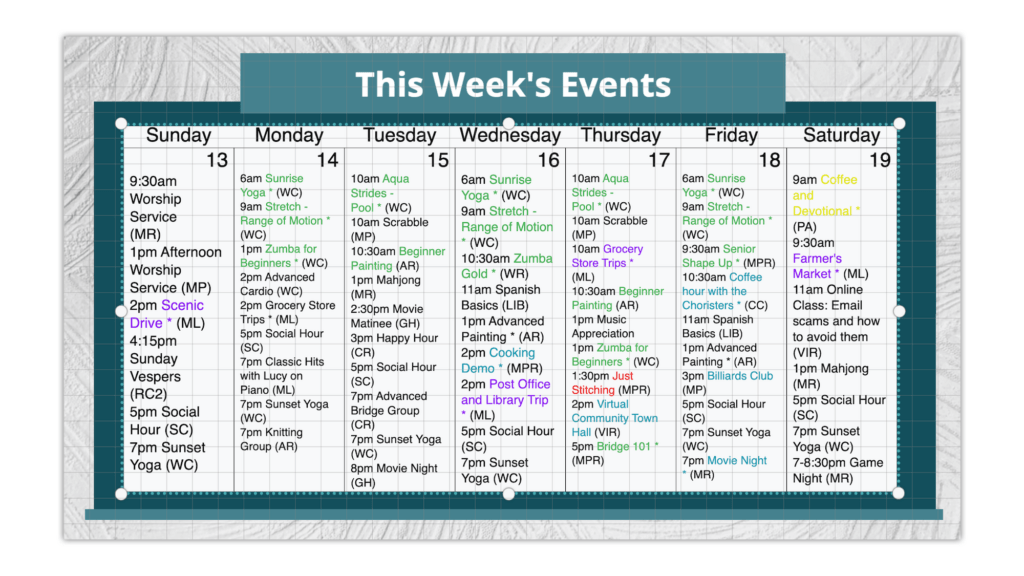
Weekly Calendar Widget
Monthly Calendar Widget
Dining Menu Widgets
Menu widgets populate information inputted into the Dining Manager. Once published to Digital Signage or Direct Broadcast, menu widgets will automatically reflect any changes made to menus in Dining in real time.
⚠️ Design Setup Recommendations:
Dining widgets are currently only supported in Landscape orientation designs.
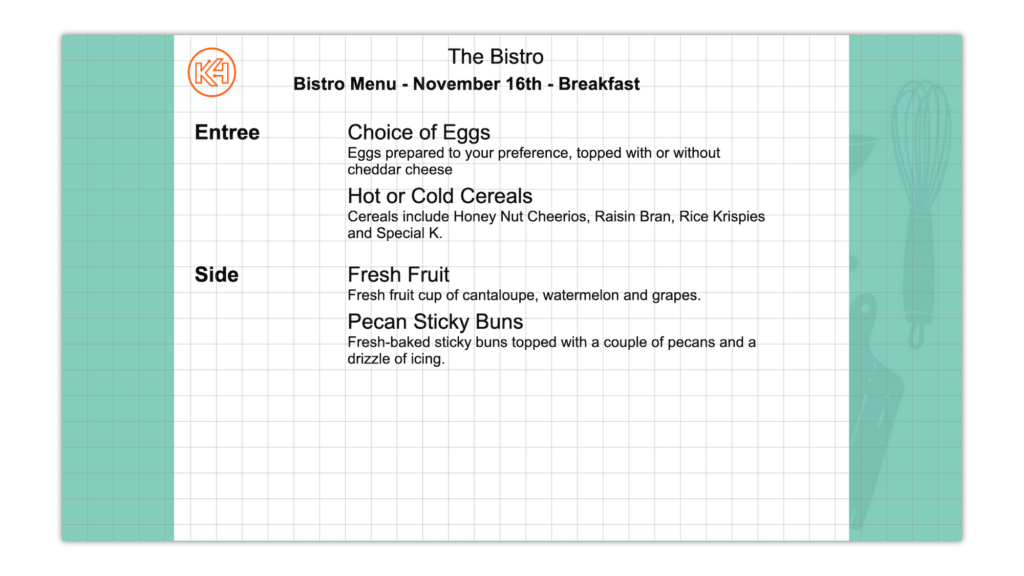
Daily Menu Widget
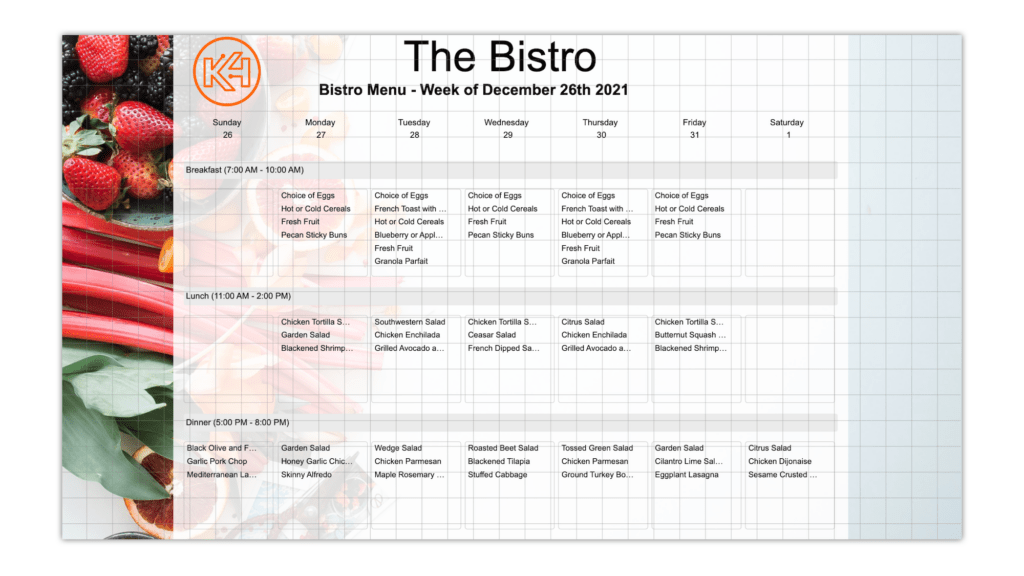
Weekly Menu Widget
Website Widgets
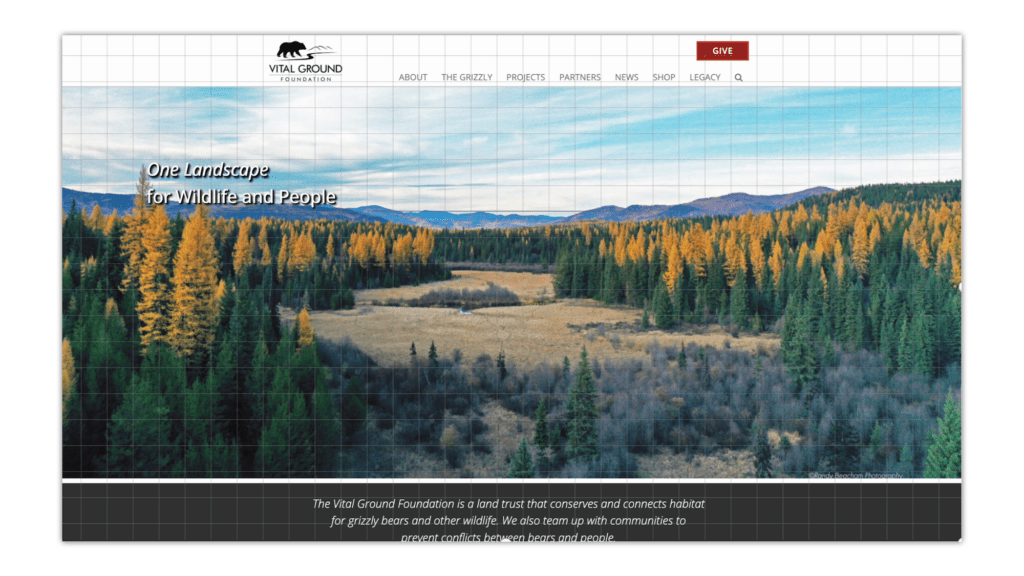
Website widgets allow users to input a link to a website, which will then display a live view of the site on Digital Signage or Direct Broadcast.
Design Setup Recommendations:
Website widgets are suitable for any size of either landscape or portrait orientations.
Website Widget
How to Edit a Widget
Once you have selected a widget, you will be presented with different editing options in the right-hand toolbar based on the widget selection. Below we will cover what options are available for each widget category.
Weather and Date/Time Widgets
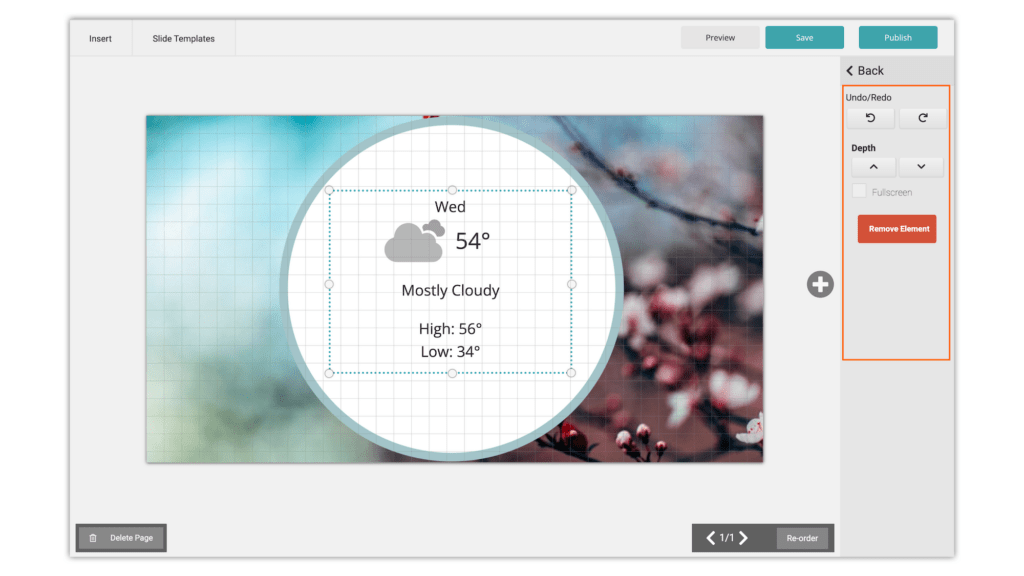
When selecting the Daily Weather Widget, 3 Day Weather Widget, or the Date/Time Widget, staff are given the option to:
Undo/Redo
Adjust the depth of the widget
Change the size of the widget to fullscreen
Remove the widget
🪄 Pro Tip:
When adjusting the depth of an element, this simply means adjusting the arrangement of the element as it relates to other elements on the page.
For example, if I had placed the weather widget in the photo above on the page before placing the white circle, the white circle would cover up the widget and prevent it from being viewed. To fix this problem, I would need to move the circle behind the widget. To do this, I would press the down V arrow under Depth in the right-hand toolbar to move the circle back behind the weather widget.
Calendar Widgets
When selecting the Today’s Events Widget, Daily Calendar Widget, Weekly Calendar Widget, or Monthly Calendar Widget, staff are given varying options depending on the specific widget selection. All Calendar widget details are pulled directly from your community’s Events Manager.
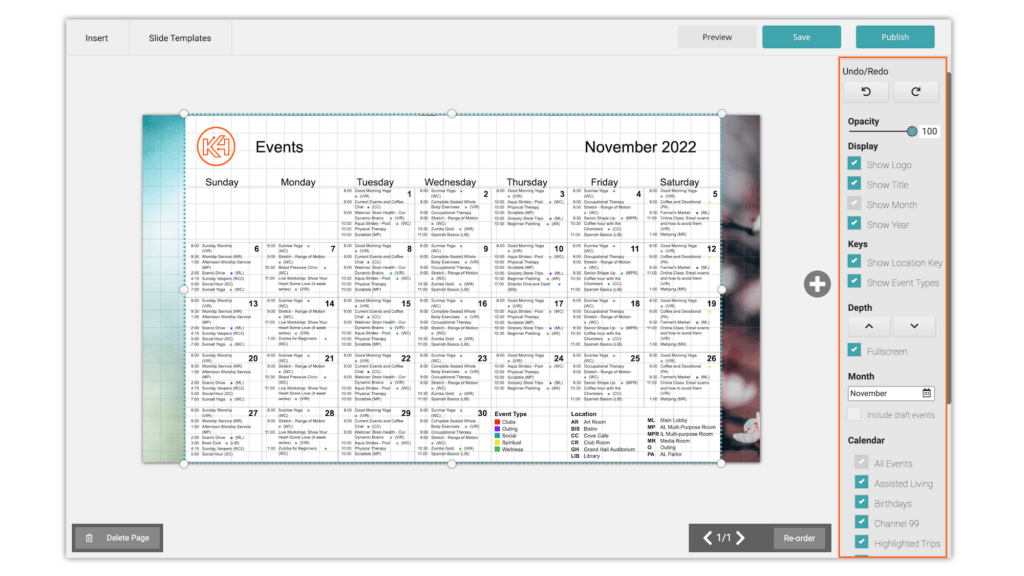
Monthly Calendar Widget Editing Options:
Undo/Redo
Opacity
Display Options
Show Community Logo
Show Calendar Title
Show Month
Show Year
Keys
Show Location Key
Show Event Types
Adjust the depth of the widget
Change the size of the widget to full screen
Select the appropriate month to display
Include/Exclude draft events
Select/Deselect which calendar events you wish to be displayed
Remove the widget
Weekly Calendar Widget Editing Options:
Undo/Redo
Opacity
Adjust the depth of the widget
Change the size of the widget to fullscreen
Select the appropriate week to display
Select/Deselect which calendar events you wish to be displayed
Remove the widget
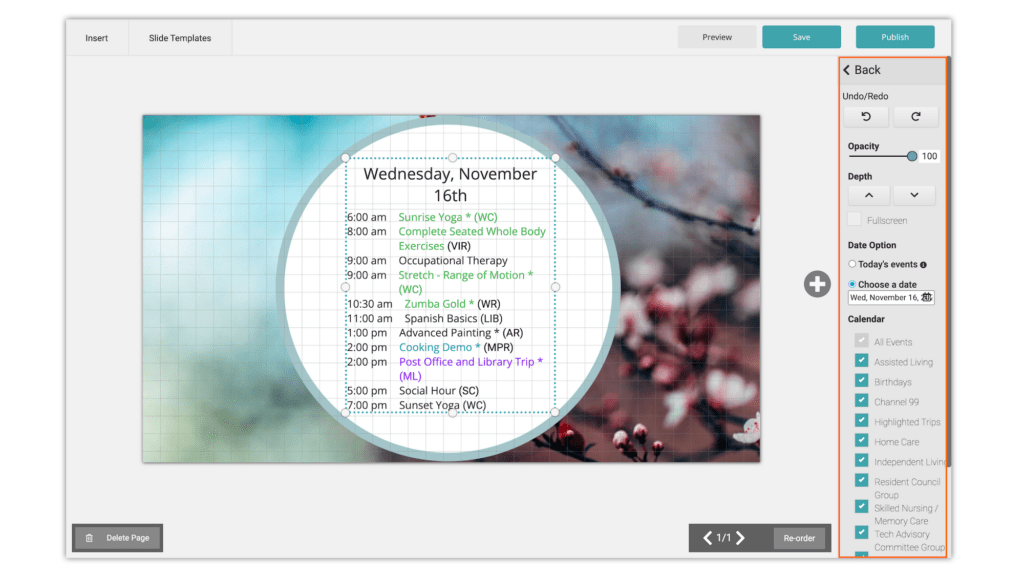
Daily Calendar Widget Editing Options:
Undo/Redo
Opacity
Adjust the depth of the widget
Change the size of the widget to fullscreen
Date option:
Today’s events (auto-updating!)
Choose a date
Select/Deselect which calendar events you wish to be displayed
Remove the widget
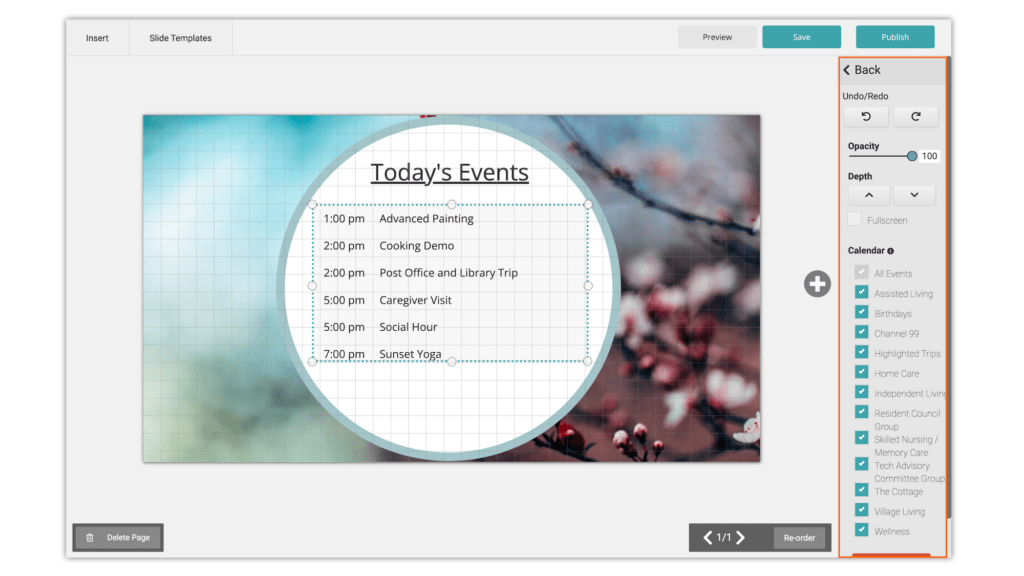
Today’s Events Widget Editing Options:
Undo/Redo
Opacity
Adjust the depth of the widget
Change the size of the widget to fullscreen
Select/Deselect which calendar events you wish to be displayed
Remove the widget
Dining Menu Widgets
When selecting the Daily Menu Widget or Weekly Menu Widget, staff are given varying options depending on the specific widget selection. All menu widget details are pulled directly from your community’s Dining Manager.
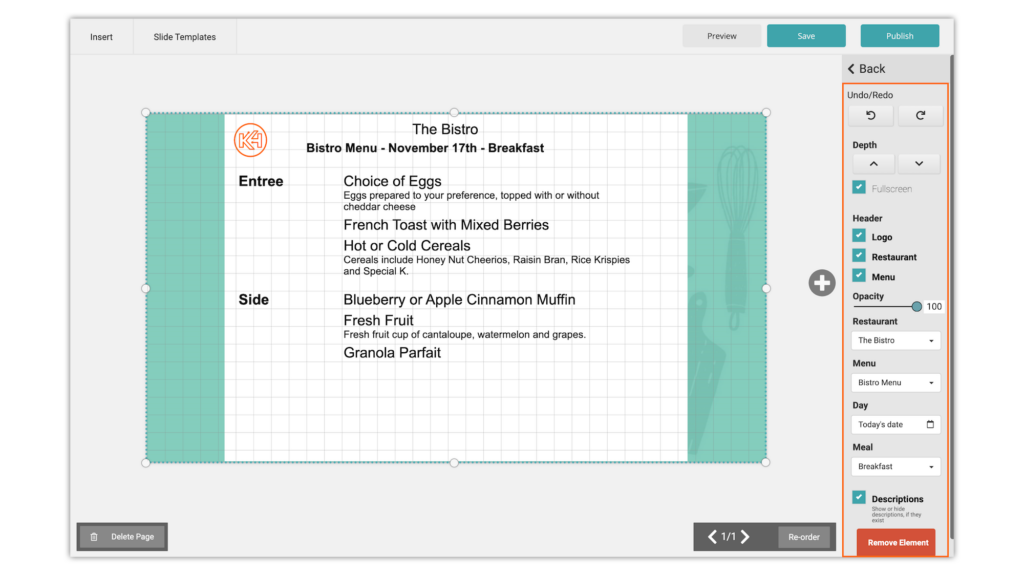
Daily Menu Widget Editing Options:
Undo/Redo
Adjust the depth of the widget
Change the size of the widget to fullscreen
Select/Edit the header display options
Display/Remove your community logo
Display/Remove the restaurant name
Display/Remove the menu name
Opacity
Choose which restaurant you wish to pull your menu items from
Choose which specific menu you wish to display
Select the date you wish to display
💡 Important: If left as “Today’s date“, the widget will automatically update day to day once published to Digital Signage or Direct Broadcast.
Select the meal you wish to display (breakfast, brunch, lunch, or dinner)
Remove the widget
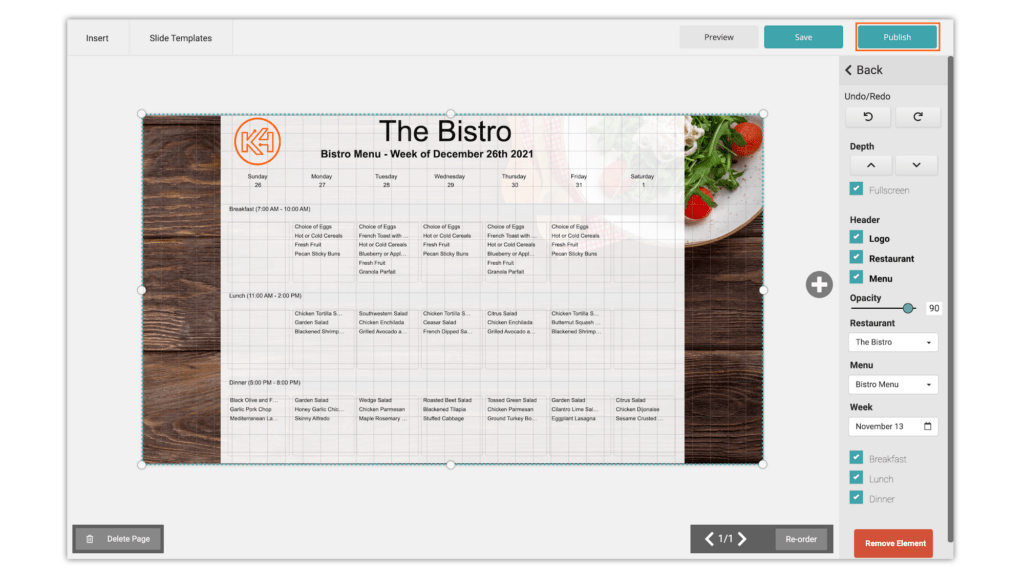
Weekly Menu Widget Editing Options:
Undo/Redo
Adjust the depth of the widget
Change the size of the widget to fullscreen
Select/Edit the header display options
Display/Remove your community logo
Display/Remove the restaurant name
Display/Remove the menu name
Opacity
Choose which restaurant you wish to pull your menu items from
Choose which specific menu you wish to display
Select the week you wish to display
Select/Deselect the meal(s) you wish to display
Remove the widget
Website Widgets
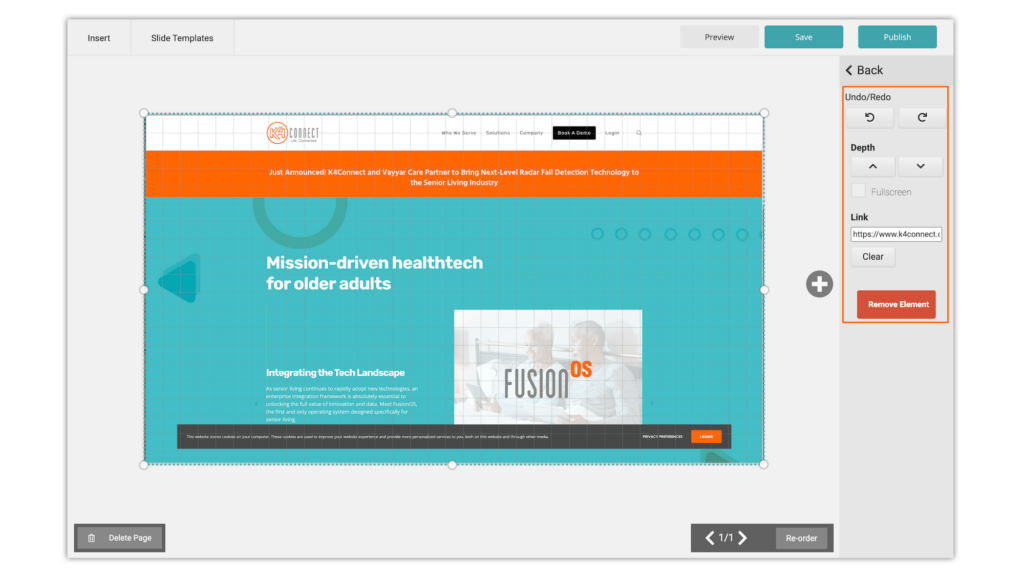
When selecting the Website Widget, staff are given the options to:
Undo/Redo
Adjust the depth of the widget
Change the size of the widget to fullscreen
Paste the link to the website you wish to display
Remove the widget
How to Publish/Print a Widget
Once you are satisfied with the details and design of your widget, you are now ready to publish your design. There are two ways to publish your design: directly from the Content Creator, or from the Content Library.
How to Publish from the Content Creator
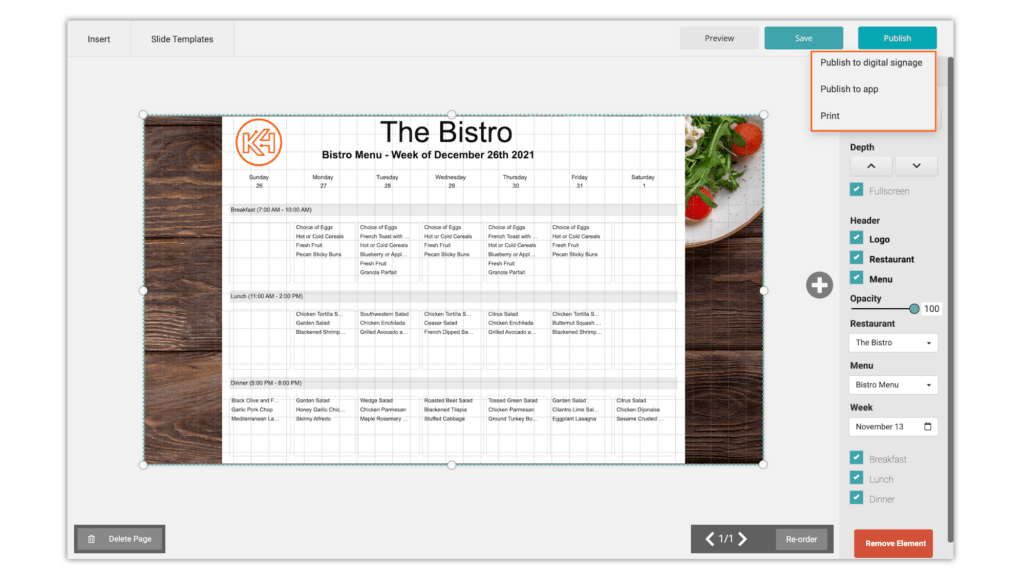
If you want to publish or print your design directly from the Content Creator, simply hover over the Publish button in the top right-hand corner of the Creator. You will be given the options to:
Publish to digital signage
Publish to app
Print
If you want to publish your design to Digital Signage or Direct Broadcast, select “Publish to Digital Signage” to be taken directly to the Digital Signage Manager for publishing.
If you want to publish your design to the K4Community Plus App, select “Publish to App” to be taken directly to the Post Manager for publishing. Please note: designs do not auto update on a daily basis in the app, only on Digital Signage or Direct Broadcast.
If you want to Print your design, simply press “Print“.
Hover over the "Publish" button
Select from the publishing options
How to Publish from the Content Library
If in the event you need to save your design for later or need review from a collaborator prior to sharing with your community, publishing from the Content Library is simple. Once you have found your design in the Content Library, click the 3 dot menu in the top right-hand corner of the thumbnail. You will be presented with the options to:
Edit in Creator
Publish to App
Publish to Signage
Rename
Delete
Print
If you want to publish your design to Digital Signage or Direct Broadcast, select “Publish to Signage” to be taken directly to the Digital Signage Manager for publishing.
If you want to publish your design to the K4Community Plus App, select “Publish to App” to be taken directly to the Post Manager for publishing. Please note: designs do not auto update on a daily basis in the app, only on Digital Signage or Direct Broadcast.
If you want to Print your design, simply press “Print“.
Click the 3 dot menu in the top right-hand corner of the design thumbnail to be presented with editing and publishing options